Eyeballs, Huge - Bulged Like Squids
On Sunday, Generals Ninjasaurus Rex and Dean called over to play the attack on the Sambre-Oise Canal in 1918 as a Square Bashing game.
I gave a lot of background on of the battle in THIS post, so there's no point in me repeating myself here. Ninjasaurus and I took the attacking British and Dean took the defending Germans. The forces were:
I gave a lot of background on of the battle in THIS post, so there's no point in me repeating myself here. Ninjasaurus and I took the attacking British and Dean took the defending Germans. The forces were:
British:
1 x Higher Command
2 x Professional LMG Infantry Battalions
8 x Regular LMG Infantry Battalions
5 x HMGs
4 x Field Guns
German:
1 x Higher Command
1 x Professional Infantry Battalion
5 x Regular Infantry Battalion
6 x HMGS
5 x Field Guns
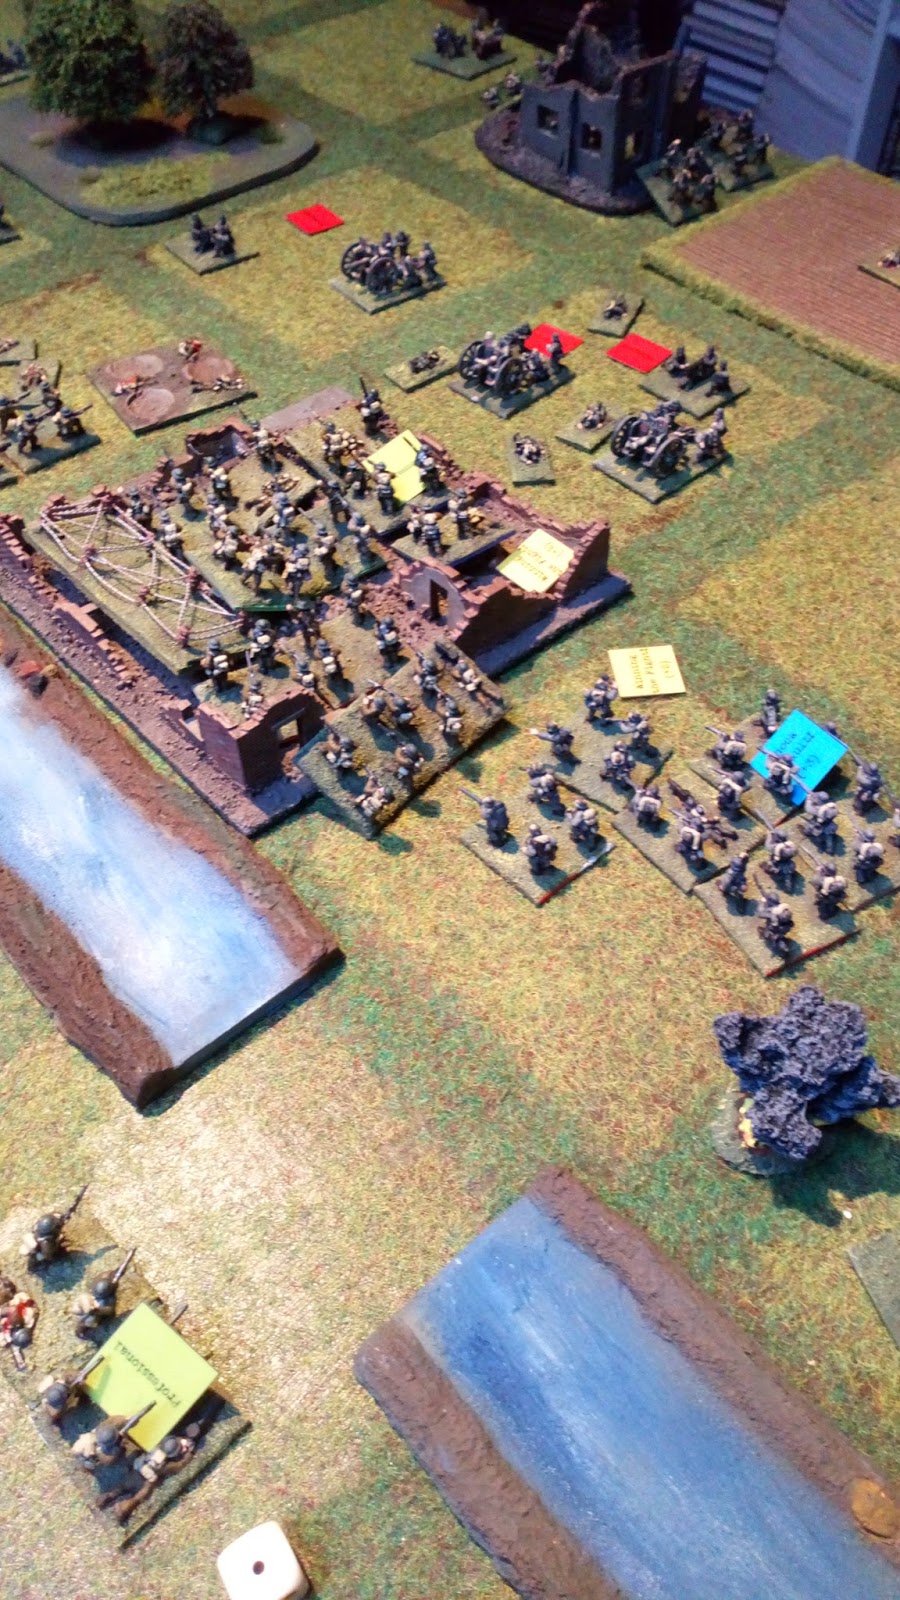
The board was set up as below, with the Sambre-Oise canal running across the centre of the table. Whoever held the majority of the four towns of Landrecies, Ors, Catillon and La Folie by the end of the game would be the winner.

The British set up on their start line, and Dean placed his German defenders. He declined to hold the left flank and put his strength around Ors and Landrecies with his Higher Command positioned in La Folie. The depletion rolls affected the amount of German battalions on the board and Dean elected to put the affected units in reserve rather than lose too many bases immediately.

The first move saw a general advance from the British, avoiding the woods and aiming for the crossing points of the canal. On our right flank I headed for Catillon as it was undefended and also aimed for Ors to support Ninjasaurus' attack.

Attacking across the canal into Ors was out of the question as the canal gave a great defence line to the Germans in the ruins. However, German gunfire caused a few casualties. We decided that the first to fall was the poet Wilfred Owen who was killed during the crossing in 1918.

With the Germans remaining in their defences, the British artillery opened up a point effect barrage on Ors, this can be extremely effective against tightly packed units and some German field guns and MGs were damaged in the blasts. The German field gun that was situated in Ors was destroyed, so things were looking good!

This allowed us to get infantry into the flanks of the town ready for an assault. Meanwhile on the British left flank, my units moved in to capture Catillon and attempt to check the threat from the German reinforcements that had also arrived.

Then, disaster! A German point effect barrage dropped right on top of the undefended British infatry!

Despite this, the British assault went in, but the lone machine gunner in Ors blunted the attack!

With a failed attack, accurate bombardment and a threatened flank the British attackers failed their morale and fell back across the canal crossing. The German barrage pinned the other British units and nothing could be gained this turn!

The German artillery were not on target with their next attempt, a suppression barrage which overshot it's target and fell behind the main British force with minimal effects.

The professional British infantry got back into position ready to assault Ors again, but by now, German infantry had also taken up the defences in the town along with the MG crew.

My efforts to destroy the German reinforcements was desultory and even three battalions against one failed to shift them.

A pincer attack on Ors was equally ineffective, resulting in more British casualties and no gains.

With the Germans winning the fight the board appeared to be covered in British casualties!

Another attack just mounted up the British dead, but we had to keep going to be within any chance of even drawing the game. The clock was ticking down to endgame as well! All was at stake!

A German aircraft appeared over the battlefield (the explosion marker) and hovered menacingly whilst the British steeled themselves for another attack. On our left flank professional German infantry appeared from Landrecies to threaten the British infantry.

More German reinforcements arrived to bolster the defence line and the professional German infantry caused massive casualties on the British left flank!

A British aircraft arrived and drove off the German crate, meanwhile on the ground, a final British push proved too much for the Germans in Ors and they were forced out of the buildings. Finally the town had fallen!
The Germans had one final chance to capture the town, but their attack failed, even though they caused massive British casualties. The British were trapped against the canal and this caused even more misery!

But the town remained in British hands and the game was a draw. This is how the field looked at the end of the fighting. The British had gained Ors and Catillon, but had no chance of threatening Landrecies or La Folie.

The result was nothing like the historical battle, where the three towns were taken quickly by a British army that had spent four years developing into a modern flexible fighting force. Dean's idea to hold only three of the four towns proved viable and made it very difficult for the British attackers to winkle out the Germans. The lone machine gunner in Ors certainly deserved an Iron Cross for their heroic defence of the town. It will be interesting to play this scenario again and see if a different result occurs!
Thanks for reading!

Great report! Thank you for sharing. I have owned square bashing for years but never given it a go, very inspiring! I liked the ebb and flow.
ReplyDeleteThanks Jozi, I'm gla you liked the report. Try it out, it is one of my favourite games. it really captures the feel of large First War battles.
DeleteGreat game reports - looks like it was an epic game.
ReplyDeleteCheers,
Pete.
Cheers Pete, it was epic and a lot harder than I expected it to be!
Delete