Pro Patria Mori: A Square Bashing AAR
Sunday was the 100th Anniversary of the Battle of the Sambre (4-6 November 1918), so we gathered together to play Square Bashing to refight the crossing of the Sambre-Oise canal. The operation sealed the fate of the German army and forced the German High Command to consider an armistice which was then signed a week later. Instead of going over old ground, you can find the background to the action HERE. I designed this scenario a few months ago and we had played it in the past, but with an unhistorical outcome.
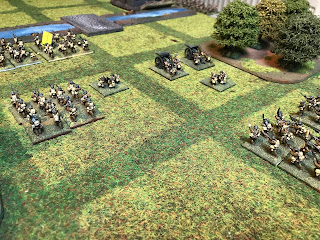
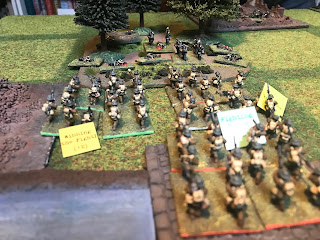
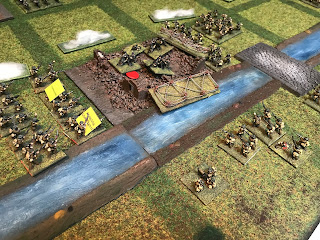
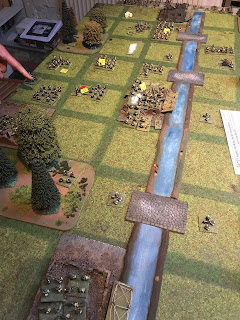
The attacking British consisted of 8 regular battalions, 2 professional battalions, 5 HMGs and 4 field guns. The Germans had 1 professional battalion, 5 regular battalions, 6 HMGs and 5 field guns. The Germans had less artillery support from off table as their gun line was historically in retreat. The British had point barrages, aircraft and smoke as part of their all-arms operation. In the initial move the British centre advanced on Ors whilst a point barrage fell on the German defenders on the canal bridge. This did very little damage though.
On the British right hand flank there was an advance towards the undefended Catillon, an easy target waiting to be taken.
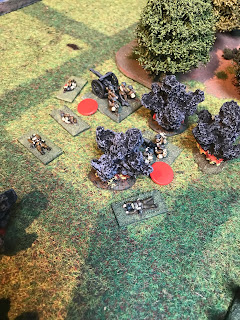
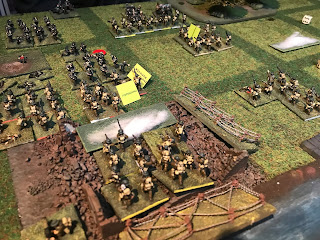
As the British advanced, the Germans threw everything in to a point barrage that landed on target and caused heavy casualties amongst the supporting artillery and MGs.
Meanwhile, the one of the German battalions defending the canal bridge broke under the British barrage and ran. Things were already looking bad on the German right flank...
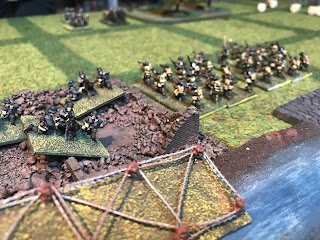
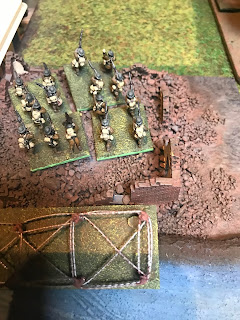
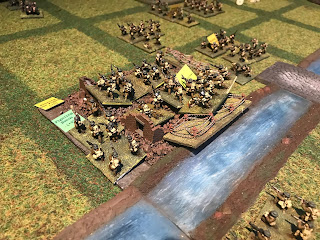
...and with perfect timing the British infantry storm across the canal bridge as the barrage lifts! Propped up by a fighting bonus from the higher command, the infantry piled in.
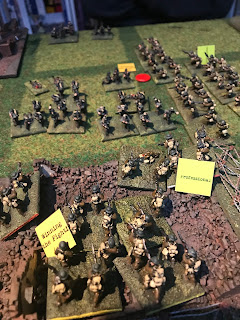
Meanwhile, the British centre had crossed the bridge at Ors and readied themselves for an assault on the HMG nest in the town.
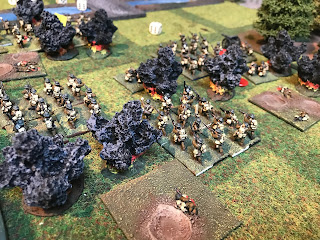
The German barrage on the British right flank further slowed the advance as their morale wouldn't allow them to move from their squares.
The left flank was successful in taking the bridge over the canal by Landrecies, the German battalion was hammered and forced back into the woods with a lot of casualties.
Before the assault on Ors began the German machine guns fired at the attackers and killed Wilfred Owen! Pro patria mori and all that.
Capitalising on success on the left flank, British infantry move into Landrecies and consolidate the position. One town had successfully been taken within three turns!
The British artillery then fired a barrage of smoke to try to block the German fire, but it fell short. However, this didn't stop the infantry from flanking Ors and readying for the attack.
Despite being defended by three HMGs the infantry sweep into the town and forced the final surviving machine gun out!
On the British right flank, the first units across the canal at Catillon were attacked and thrown back in disarray by newly arrived German reinforcements.
The British infantry in Ors pushed forward in an attempt to force the Germans back but were unsuccessful as the defenders hold their ground. Meanwhile, another British battalion attacked the German gun line and sent them packing off the table!
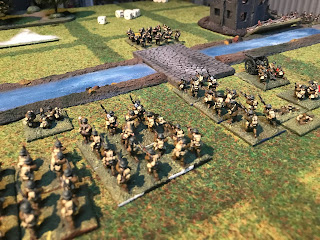
Recovering from the their small set-back the British right flank gathered for another assault across the Catillon canal bridge which successfully drove back the Germans.
The success at attacking over the bridge at Catillon meant that the British now held two of the towns (Landrecies and Ors) and were also threatening to take Catillon.
It wasn't to last, more German reinforcements moved up to Ors and threatened the British defenders.
The fighting spirit of the BEF was not diminishing, as three British battalions hit the German infantry in the flank.
The Germans again held their ground and caused casualties amongst the British attackers!
Then disaster struck as an unexpected German assault forced the British back out of Ors across the canal!
With the battle timer ticking down, the British infantry moved up to surround the Germans in Ors. This attack was going to have to count or the game would be a draw!
The attack was a success and the Germans were wiped out to a man! The British were back in possession of Ors!
At this point, Dean threw the towel in as the German defender. He had lost three towns, meaning it was a British victory. The game would have ended on the next turn anyway and there was little he could have done to capture any of the three back.
This time, the game was a historical outcome, but was no less exciting and nailbiting at times. The action centred around Ors and we were all surprised at how quickly
the town was taken with three HMGs in there. The British victory there
shows the need for support squares when defending. When the British attack out of Ors failed, it gave the German reinforcements the chance to counter attack against the depleted defenders. The gamble paid off and had it only been one turn later the game would have been a draw. However, Dean felt the pinch of the lack of artillery support, but his infantry made a good show and the British casualties were very high by the end of the game.
In this game, instead of using gas (which wasn't used as much as in previous years in 1918), we used smoke barrages. These operated exactly as a gas barrage, with five squares being targeted, but instead of causing casualties, it stops anyone in the square from firing out. Perfect for using just before an attack that may mean the defender gets to fire or for blocking field guns from firing.
Another excellent game of Square Bashing!
For more information on the Battle of the Sambre, have a read of Decisive Victory by Derek Clayton, an excellent and in-depth study of the action.










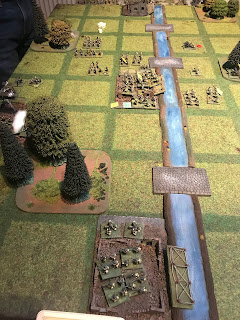


Looks nice, but the big squares of infantry don't visually evoke the warfare.
ReplyDeleteThanks, but the infantry blocks are battalions, so they represent sizeable numbers of men
ReplyDeleteA great looking game on a beautiful table, impressive river!
ReplyDeleteThank Phil, the rivers were bought from Magister Militum, I think...
DeleteGreat looking game. Thanks for posting.
ReplyDeleteCheers,
Pete.
Thanks Pete, thanks for reading!
DeleteIts not very often we get to re-fight a square bashing game but they always deliver. In the first game the plan just came together and brought about the unhistorical victory. The careful and lucky use of assets swung it. This time around the complete collapse of the right wing at the bridge swung the game the other way. There was some plucky counter assaults but to no avail.
ReplyDeleteWe can retry others in the future, but yeah, they always deliver, first time or not. We were all shocked at how quick the MGs were forced back!
DeleteExcellent report as ever. I've linked this post onto the RFCM forum. Well done!
ReplyDeleteThanks Sean, I wasn't aware of the RFCM forum, but I'll have a look later on
DeleteGreat looking game. The table lots good, interesting way for portraying the squares.
ReplyDeleteSean posted it here http://rulesforcommonman.uk/smf/index.php?topic=1497.0
Good to see a game play to provoke some thoughts for commemorating the battle and the 100 years centenary of the première Guerre mondiale.
Thank you, I searched for the RCFM forum and now have joined there!
Delete