Lost on the Playing Fields of Eton, a Blucher AAR
On Sunday, Dean called over for a game of Blücher, our first for a long time! Having spent so long painting the figures, I thought it was high time that we actually used some of them. I took the British defending a ridge line and town, whilst Dean took the attacking French, commanded by Wellington and Napoleon respectively.
The French had II and III Corps supported by the Imperial Guard Corps facing the British I and II Corps with the Brunswick contingent. Both sides had an army morale of 9, meaning that either of us would have to break nine brigades of the opposition to win.
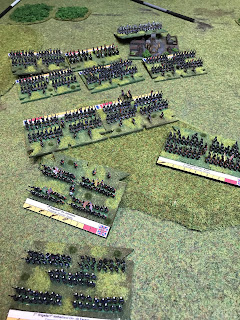
I placed the two Guards brigades in the town in the centre of the field, these would be difficult units to winkle out of this position, so one of the French Corps ignored them and moved past the strong-point!
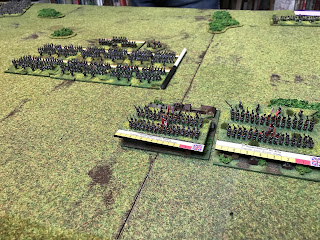
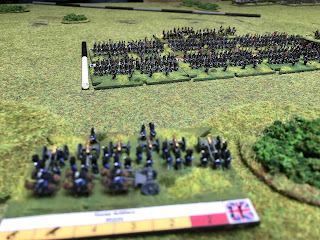
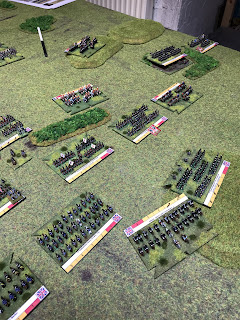
As the French mass of infantry and cavalry advanced, I was able to fire a few artillery shots at them causing a few casualties.
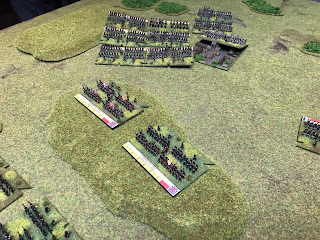
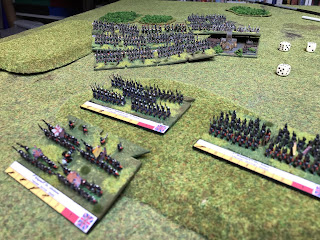
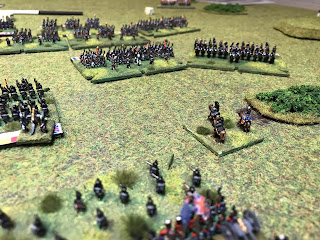
The French pressed in closer on the British centre and both sides fired musket volleys where they could.
Meanwhile on my right flank, the cavalry of the Imperial Guard began moving towards my lines after the heavy artillery had caused some casualties.
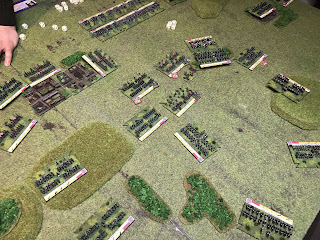
And on my left flank another mass of French brigades began their advance against the thinly held lines.
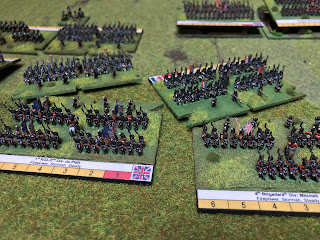
Despite taking casualties from British musket fire, the French continued their slow but steady advance.
Two French brigades began their attack uphill into the British lines in the centre of the field.
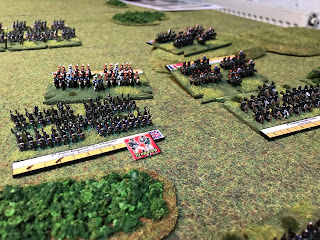
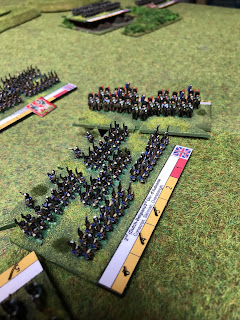
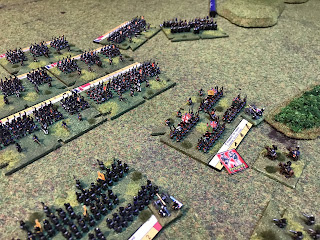
On the British right the Guard cavalry pile into the Allied defenders, including one infantry brigade which had formed square.
The rest of the Imperial Guard also began their advance in support of the cavalry attacks!
On the right flank, attacks and counter attacks by the Allied and French cavalry caused confusion and casualties to both sides.
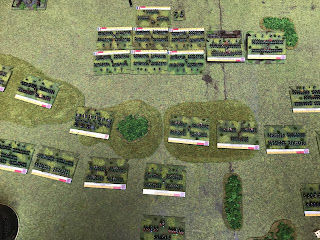
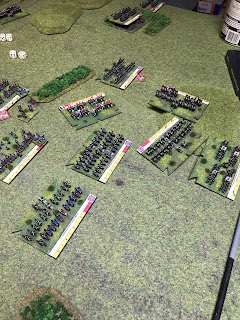
Meanwhile on my left flank, I was forced to swap damaged units for fresh brigades due to French musket fire.
The Imperial Guard cavalry had broken through the British line and were in a position to hit the conscript Dutch-Belgium troops in the flank!
Desperately, I was trying to hold the line against the repeated attacks of the Guard cavalry, but it was fruitless.
On the left flank, a massive French assault pushed the British defenders off the ridge line.
As the Imperial Guard advanced, I dispatched the British Guards from their bolthole to attack them in the flank, as the British right flank fell into a confused mess.
The French centre had given way under British musket fire and attacks of opportunity, but both flanks were still strong with lots of fresh brigades.
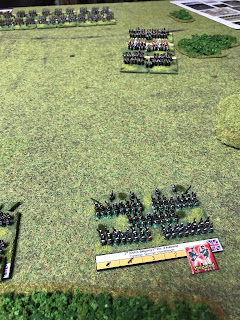
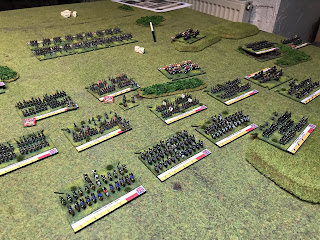
The Imperial Guard came within volley fire distance of the British squares.
With only a thin red line between the elite of the French army and Wellington things were not looking good for the British.
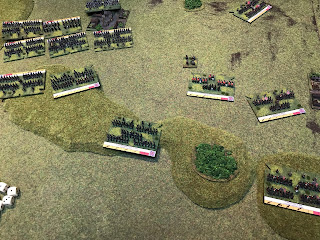
On the left flank, more British brigades break under the French pressure, but the French centre is decimated and Napoleon is left alone in the centre.
Wellington was equally left exposed when the brigade in front of him was broken by an attack of the Imperial Guard.
The final turn saw both sides reaching their army break point of nine brigades lost. The British actually lost eleven brigades and the French nine, so Dean was declared the winner.
At this point in the game, there were barely any British units without any kind of damage and the majority of the French brigades were still fresh. Had we continued, the British flanks would have given way with a tiny push from the French. I broke the French army first, but we continued with the rest of that turn and that is when the British lost about three brigades at once. My Corps were so scattered and battered that there was no chance of being able to pull the game back. Blücher rewards the defender and I was hoping the French would break during their attacks, but it was not to be and Napoleon carried the day!
Please check out my Youtube channel, where I post wargaming videos and military history videos such as this new examination of the Soviet Tank Heroines of the Second World War:







The wolves were loose in the flock
ReplyDeleteIndeed they were. Horrible.
Delete