Rumble in the Jungle, an I Ain't been Shot, Mum AAR
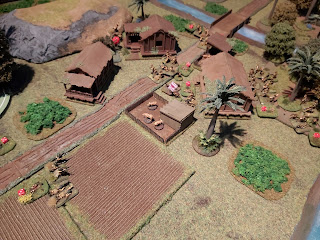
Before Christmas, I tried out the Too Fat Lardies I Ain't Been Shot, Mum. I have wanted to try these rules out for a long time and decided to put together a small action set in Malaya and play it solo to get a hang of the game. I used the Fall of the Lion Gate TFL supplement to create the OOBs for the opposing Japanese attackers and British defenders.
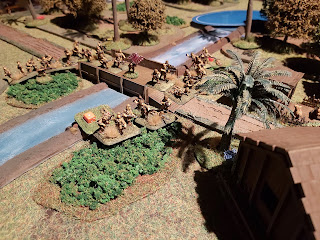
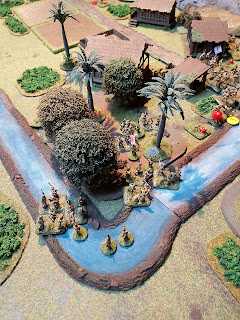
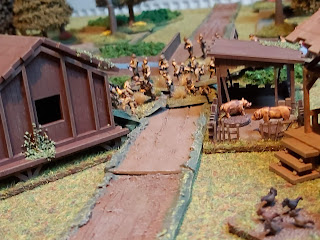
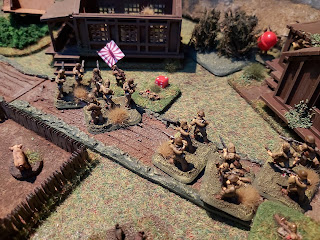
The Japanese were attacking down a straight road into a small Malay village and had two platoons each of four sections of ten men each. The two platoons were each commanded by a level 1 Big Man and there was also a Level 4 & Level 3 Big Man as commanders. The British defenders had two platoons each of three sections of eight men and a 2" mortar. Each of these platoon were commanded by a Level 1 Big Man, with an extra Level 4 Big Man in overall command. One defending platoon blind was placed in the area of the village and the second blind placed in a rear area patch of jungle. The Japanese began their attack crossing the river and being spotted and immediately coming under fire from the defenders in the village.
They took heavy fire from the British riflemen, but it couldn't stop them advancing.
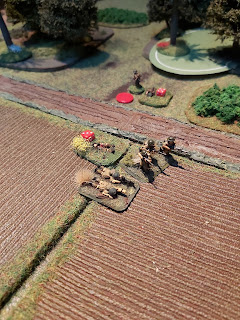
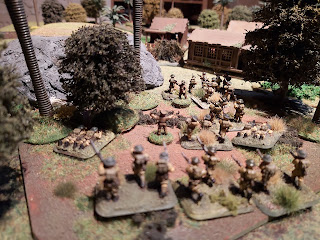
On the Japanese left the second platoon began moving around through the jungle to try to outflank the village.
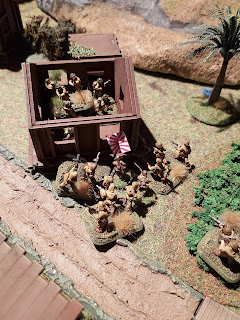
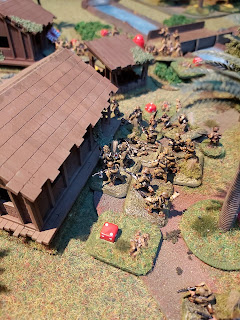
Meanwhile, one section made it across the bridge and attacked a British section in a small hut on the outskirts of the village.
The fighting was heavy as both sides tried to gain the upper hand.
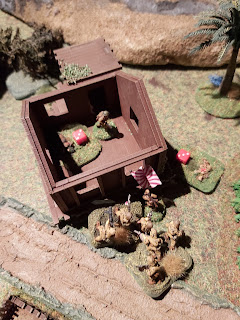
Fives and Sixes were needed in close combat and the Japanese rolled high, almost wiping out the British section with seven kills!
The defenders were forced to fall back and abandon their position...
It wasn't all going well though as British riflemen laid down a heavy fire on the platoon, killing some attackers and pinning a section.
The jungle and river was proving to be difficult to get through and the flanking manoeuvre was taking a slow pace.
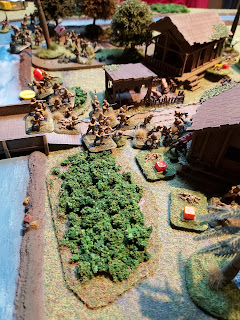
The Japanese were slowly pushing their way into the village.
Soldiers from the second Japanese platoon charged a second building holding British defenders.
The overwhelming numbers broke the line and the remaining British soldiers were thrown back out of the village.
There was still another British section in the third house, a ill disciplined charge by the Japanese had poor results and the defenders held on.
Despite this small set back, the attackers were gaining ground and forcing their way through the buildings, one at a time.
Meanwhile, the second British platoon deployed from its blind and began firing at the Japanese that they could see from their jungle position.
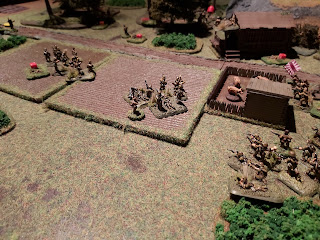
The second Japanese platoon had got past the British defence line and pursued the beleaguered defenders across the fields.
Once in a good position, the second British platoon was assaulted by two Japanese sections led by their commander.
The fighting was brutal, with both side taking heavy casualties.
The Japanese commander was cut down at the head of his men under fire from the British rifles.
At this point the final tea break card came up and I ended the game in a Japanese victory.
As a first game of IABSM, it took a little while as I had to go back to the rules every so often, just to remind myself. However, most of the basic rules can easily be held in your head and I think a few games would be enough to cement them in there. It's a fast play game and had a lot of friction and unpredictability due to using the command cards which allow units to activate. This means you have to be careful and use opportunities as soon as they arise, such as using Big Men to command units when they can. This was a lot smaller than a typical game of IABSM, but it was enough to give me an idea of the game flow and the general rules. What I do like within the rules is that they are not prescriptive, it is about enjoying the game rather than being a rules lawyer and that might not suit a lot of players. For me, I really like that approach, as the Lardies say: play the period, not the rules. I've been looking for a replacement for Rapid Fire! for some time now and think I've found it!
If you want some more information on the fighting in Malaya during 1941 and 1942, have a look at my playlist of the second World War in the Far East on the Storm of Steel Youtube channel. This is an ongoing series of videos and there's more coming in the future, so please subscribe and enjoy the vids. Click on the Watch on Youtube link and it will bring up the rest of the playlist.
If you want some more information on the fighting in Malaya during 1941 and 1942, have a look at my playlist of the second World War in the Far East on the Storm of Steel Youtube channel. This is an ongoing series of videos and there's more coming in the future, so please subscribe and enjoy the vids. Click on the Watch on Youtube link and it will bring up the rest of the playlist.







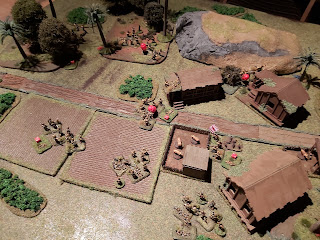
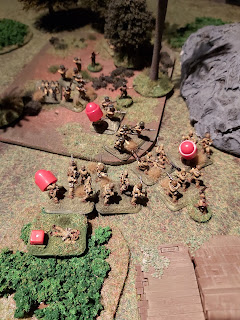
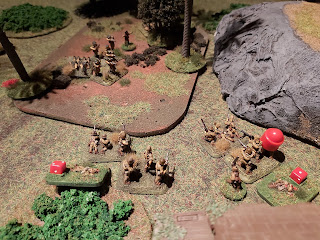

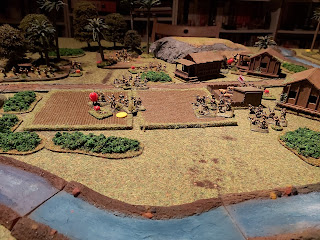

A great looking game on a splendid and immersive table...
ReplyDeleteThanks phil, I think it helped that I had a half sized board, so it looks more packed!
Delete