The Battle of Quatre Bras: a Blücher AAR
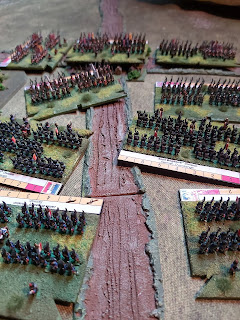
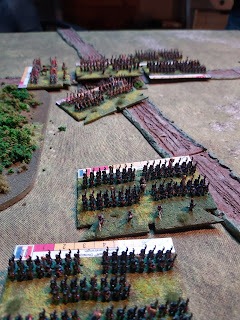
Recently, Ninjasaurus Rex and I sat down to play the Quatre Bras scenario using the Blücher rules. I had played the scenario the week before as a solo game (and filmed it, the video is HERE) but this was the first time we'd used my figures after me completing the Armee du Nord of 1815. Quatre Bras was fought on the 16th of June between Ney's II Corps of the Armee du Nord and the Allied forces commanded initially by the Prince of Orange and then later by Wellington.
The scenario was one that had been put on the Sam Mustafa official Facebook page, you can find it in the files section of that page or you can download the PDF from this link HERE on my Google drive. The French must capture both the titular crossroads and the road to Namur to have an outright victory. If they capture one of these objectives it is a draw and anything else is a loss. Also, the first army to reach their break point of 6 units lost will immediately lose.
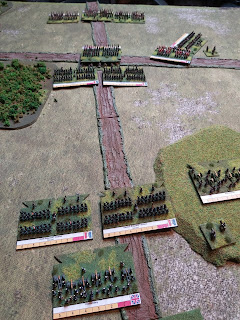
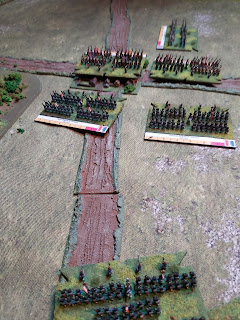
I took the French attackers whilst he had the Allied defenders. They only had two brigades on board at the beginning of the battle, but would be steadily reinforced by more as the game went on. The French had to act fast to get into the village, so I used the reserve move to get up the road as quickly as possible with my main block of units.
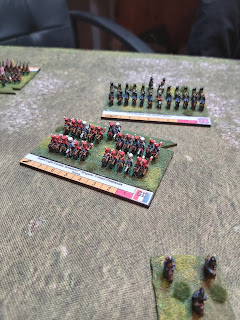
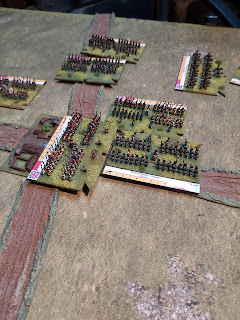
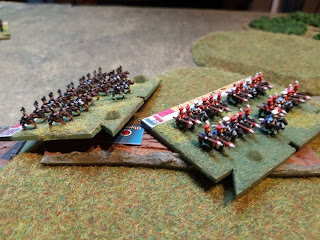
Dutch cavalry had arrived and he garrisoned the village with Dutch infantry. I sent my Guards lancers into the flank of the Allied cavalry and two infantry brigades attacked into Quatre Bras.
Immediately, things went well, the Dutch cavalry were sent into a retreat by the lancers....
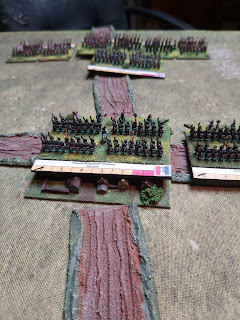
And the infantry were pushed out of Quatre Bras.
I'd taken one objective, but was now faced by three fresh infantry brigades that had arrived as reinforcements.
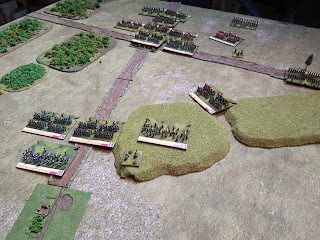
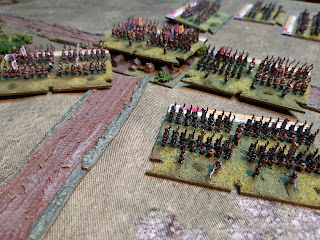
Meanwhile, more Dutch infantry on the Namur road held in square against another cavalry attack.
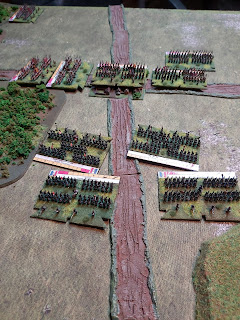
As the fighting intensified around Quatre Bras, more French reinforcements arrived and were quickly sent up the Brussels road to join the fight.
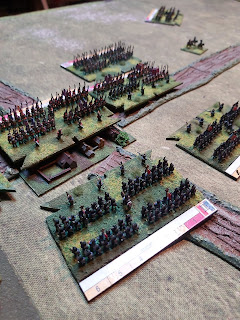
The French defence of the village didn't last long and British infantry pushed out the defending Frenchmen then turned on the brigade positioned on the right.
Being hit in the flank and attacked from the front had the inevitable consequence of the French retreating heavily damaged. The Allies were back in position of the village and more reinforcements were arriving in the shape of the Brunswick contingent.
One of the French units was so badly mauled in the fighting that I had to withdraw it from the field, but I also had fresh units advancing up to take positions against the Allies.
The reinforcements were able to smash into the British infantry, catching one brigade in the flank.
One brigade was sent fleeing whilst the other was broken under the weight of the French assault.
Meanwhile, a see-saw fight between the French lancers and the Allied cavalry saw the lancers attempting to escape with the Brunswick cavalry in hot pursuit.
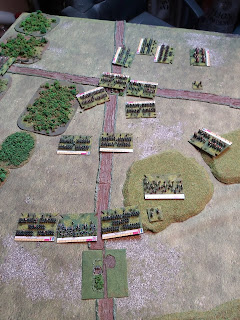
Whilst the French infantry got into position for another assault on the village, more Allied reinforcements arrived from the direction of Nivelles, two more fresh brigades of infantry!
The French attack went in...
And bounced straight off again! The British infantry were proving hard to dislodge.
The fighting became confused as more brigades arrived on both sides to plug the gaps.
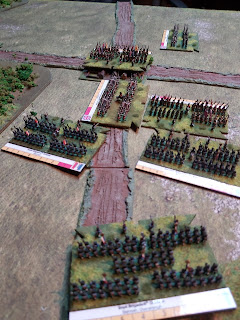
Despite repeated attacks on the crossroads the French were unable to shift the British infantry garrisoned there.
The game ended on the French turn with the British infantry still in possession of the crossroads and a Dutch infantry unit astride the Namur Road. It was considered an Allied win.
The Allies lost three units and the French lost one, but had also withdrawn four units due to heavy damage. It was an excellent scenario and one that saw the crossroads change hands a couple of times. The French had to act quickly to knock out the Allied defence, but this was difficult as their reinforcements were not quick enough in arriving to bolster the support. With the Allied reinforcements arriving pretty much every turn and in strength it was always going to be a big ask.
An alternative French option is to allow D'Erlon's I Corps to attempt to arrive to influence the fighting. But as the scenario suggests they may arrive after move 24 (of 30) means they may not have such an impact anyway.
An alternative French option is to allow D'Erlon's I Corps to attempt to arrive to influence the fighting. But as the scenario suggests they may arrive after move 24 (of 30) means they may not have such an impact anyway.
As I mentioned, I also played the same game previously as a solo effort. I filmed it as I played and you can watch it here on the Youtube Storm of Steel Wargaming channel (and please subscribe!):







Cracking!
ReplyDeleteThanks Iain!!
DeleteFor whatever reason, this is a fave battle of mine, thanks for covering it in both text and video - enjoyed.
ReplyDeleteThanks Norm, yes, I have always liked refighting this battle ever since my earliest days as a wargamer. It's very exciting
DeleteHi, The link to Google Drive doesn't work and I am no member of Facebook. I would love to recieve this scenario in pdf though. Can you please send me a copy: gvdeutekom@gmail.com
ReplyDelete