Chain of Command: Malaya Pint-Sized Campaign Scenario 5: The Second Flank Attack
With the mauling that the Australians took in the last scenario, despite being victorious they decided it was better to fall back rather than counter-attack the Japanese. This allowed the Japanese to replace their platoon and move forward again. Rolling for force supports the Japanese took a ruse, another Ha-Go tank and a pre-game barrage, which makes it difficult for the Australians to deploy. The Australians had reorganised their units into two sections of about equal strength and were able to muster a fresh section to make three in total, along with a Boys AT team for their support options.

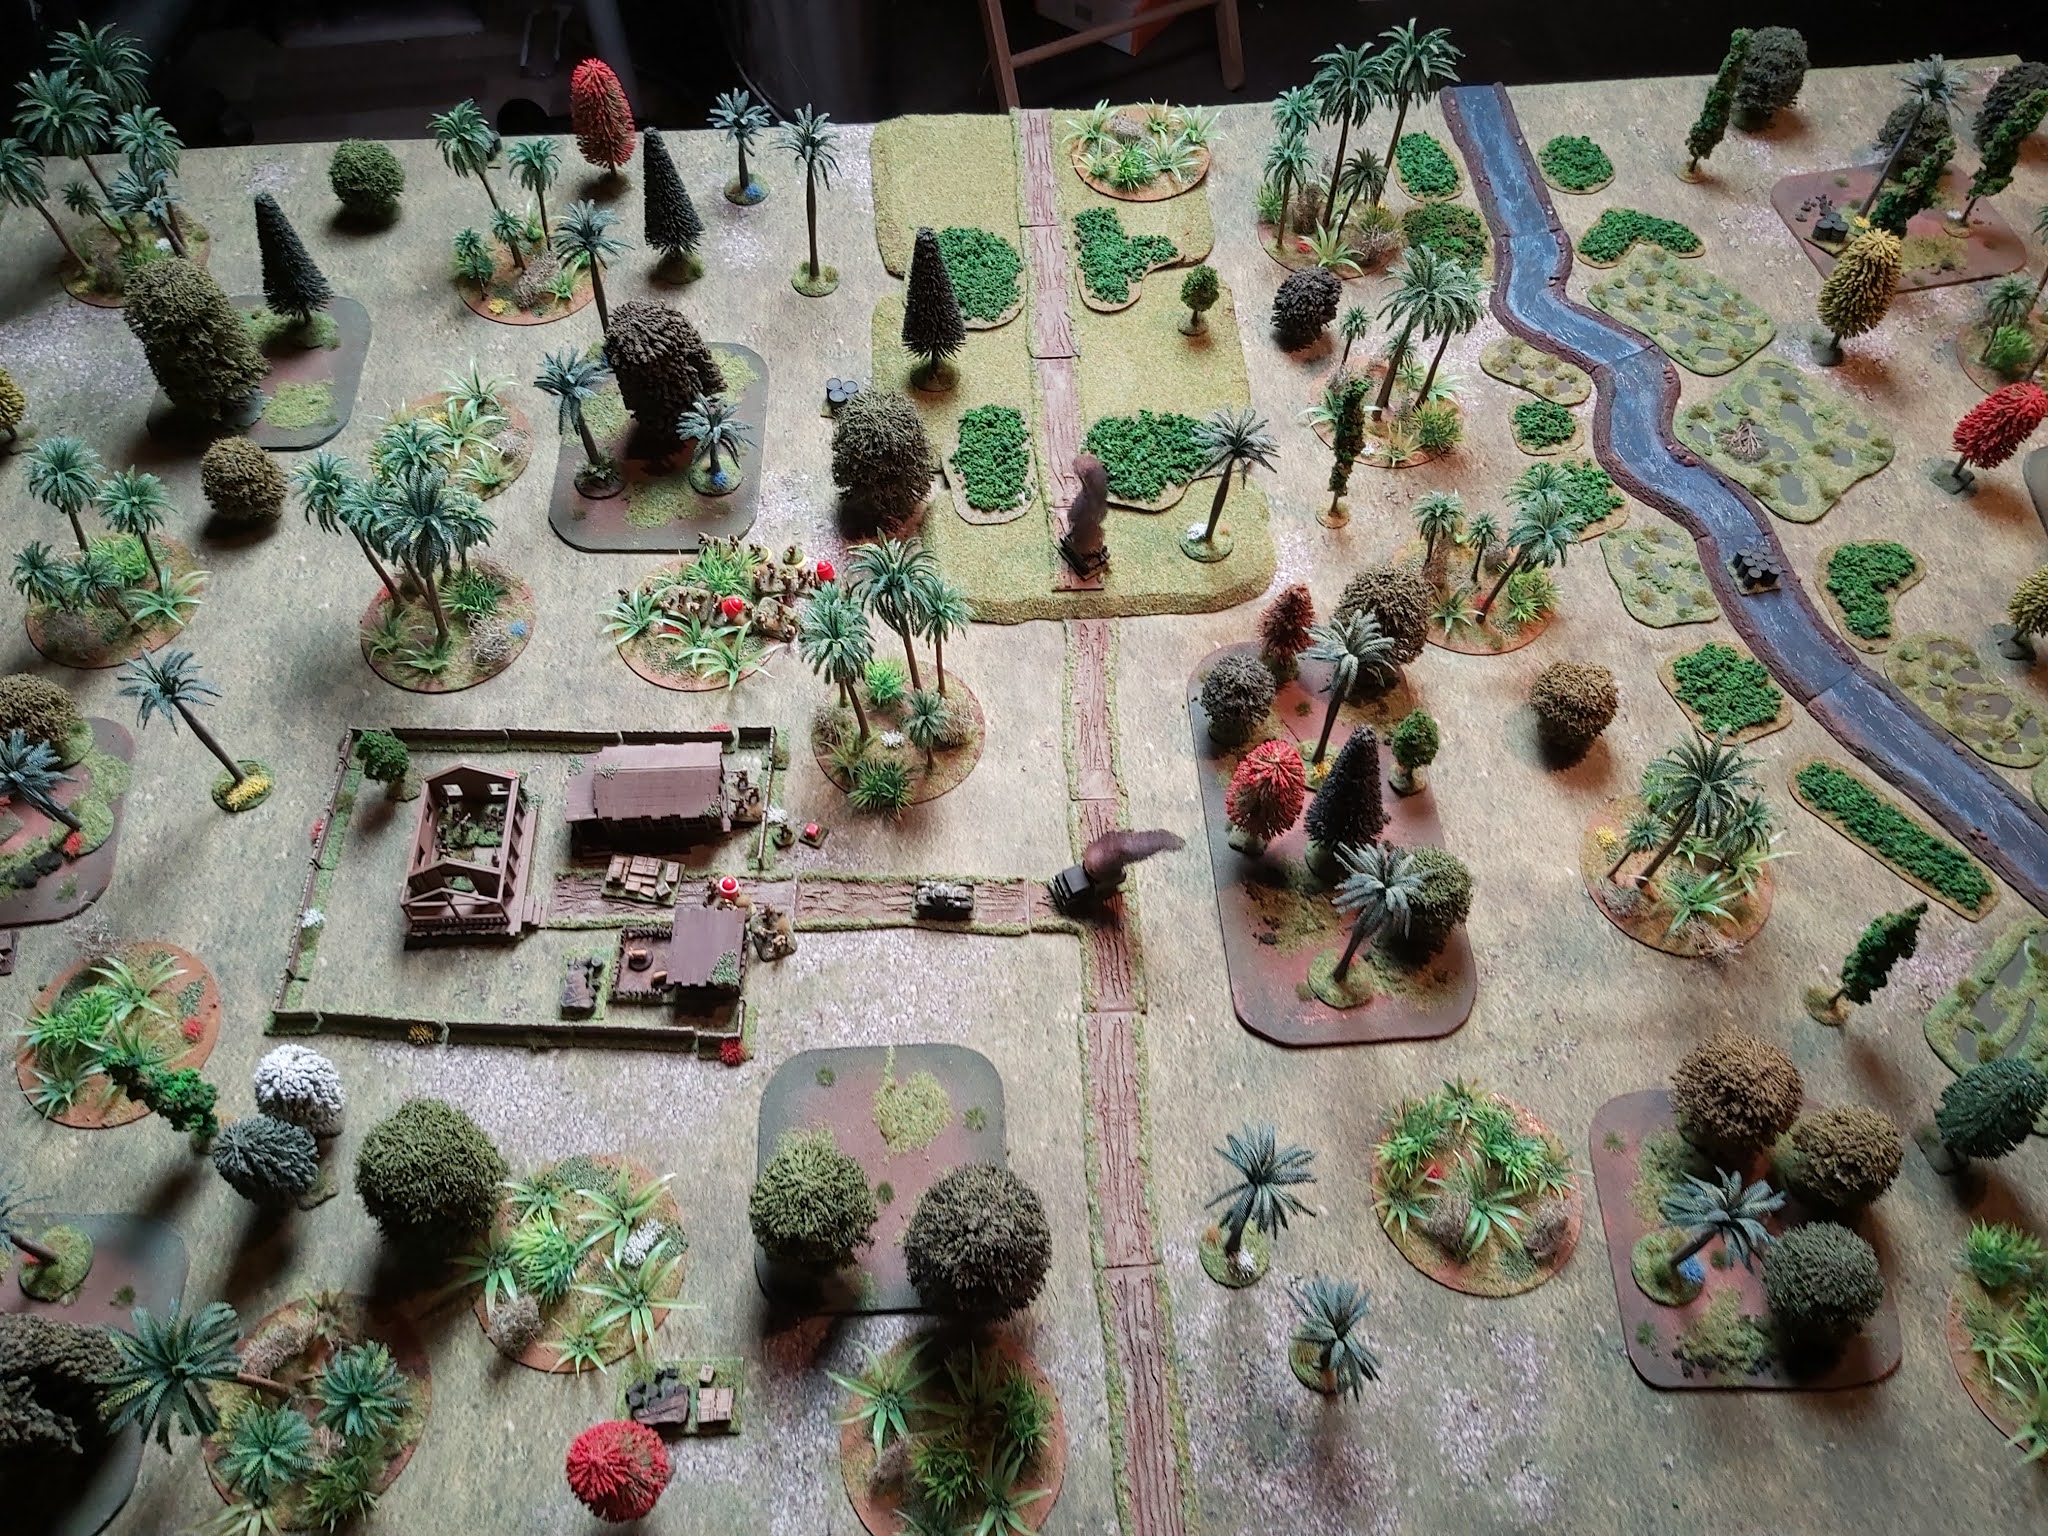
With the ruse in play the first Japanese section and Sergeant were able to deploy quite close to the Malay compound where the Australian Jumping off points were clustered.

Despite the bombardment an Australian section appeared and got into the jungle huts firing on the advancing enemy with no effect!

Two more Japanese sections deployed, moving stealthily through the jungle.

Launching a bayonet attack, the forward Japanese section took heavy casualties and retreated into the safety of the jungle. The Australians held their position but were almost wiped out!

A second Australian section appeared to help by pouring fire into the Japanese infantry.

The Ha-Go made an appearance, ready to support the attack on the compound.

Speeding down the road the tank lent support to the advancing infantry on the flank.

However, a Boys AT team in the pig pen opened fire twice at the tank, the first shot missing, the second one destroying the main gun!

But seizing the opportunity the flanking section rushed the defenders positions and a furious bayonet fight broke out!

In the melee, the Boys Team were wiped out and Lt Asquith killed! A terrible blow to the Australians!

With the loss of the Senior Leader the Australians decided it was time to withdraw and the remaining section fell back through the jungle.
Another blow to the Australians was the death of Lt Asquith, now both Senior Leaders had been lost it was looking bad for the next game. However, a new replacement has been found and the remains of the Australian force fall back to the their last stand point, the river crossing. If this falls, the way is open for the Japanese to push through to Singapore.
This AAR was also filmed and you can watch the action unfold here (and please subscribe!):

Great report- the video too- the Australians are being pushed hard now... rather sad knowing how it all works out too.
ReplyDeleteCheers,
Pete.
Cheers Pete, yeah they are really feeling the pressure.. You never know, they may pull it back!
DeleteI notice that you never seem to use the light mortars both sides have- do you not find them very effective? The Japanese section with 3 knee mortars in looks like it should be a bit more effective but it seems to be rarely brought on the table.
DeleteCheers,
Pete.
TBH, I generally end up forgetting about them! They don't have a great firepower (2d6 per mortar) so their actual effect is pretty low, except firing against targets not in LOS, so rolling the firepower of a normal section (15d6) it makes sense to use the rifle sections really.
DeleteVery inspiring to my own Malaya project as usual ! Thanks a lot. What e pleasur to read your posts!
ReplyDeleteThanks John, I am glad you enjoy the posts!
Delete