Chain of Command, Malaya 1942 Pint Sized Campaign; Scenario 2: The Patrol
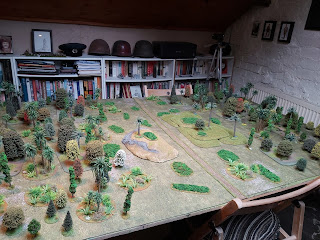
Following on from the Japanese defeat in the first scenario, the Australians held the field as the attackers fell back with heavy casualties. The Japanese battalion CO put a fresh platoon into the line to take the position. This was commanded by Lt Noda Takura and Sgt Yahiro Naonobu. An aggressive patrol phase saw the Japanese jumping off points pushed further down the table than previously. The Australians had given a little ground for their jumping off points and had taken some casualties so their numbers were already down before the game began.
Here is the video of the game, but below are the photos I took and posted on Twitter with the game narrative:
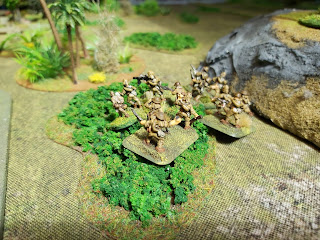
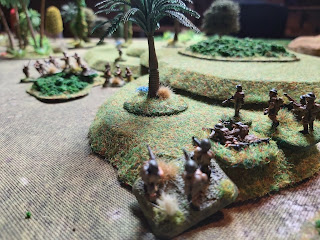
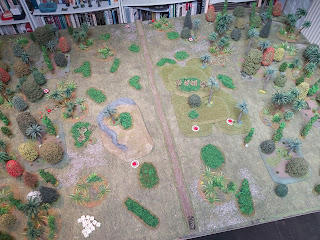
Immediately, and using their jungle fighter traits the Japanese deployed two sections and Sgt Naonobu to lead the attack.
On both flanks the two sections pushed as hard as they could to try to close down the Australian jumping off points.
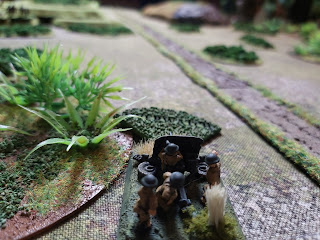
Meanwhile, the Australians were able to bring forward a 2 pounder anti-tank gun and set it on overwatch to cover the road as Japanese armour was in the area.
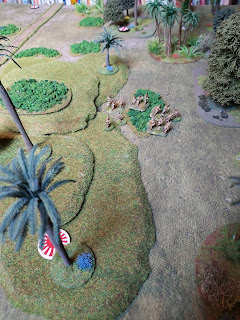
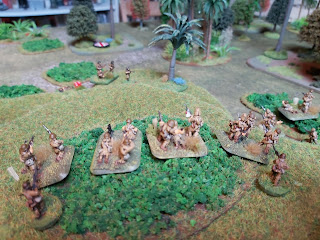
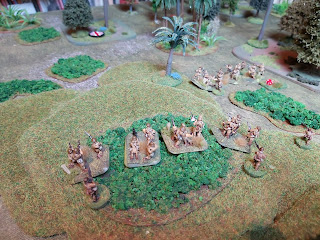
Whilst a section appeared to block the Japanese advance on the jumping off point.
And on the other flank another Australian section moved into position to do the same.
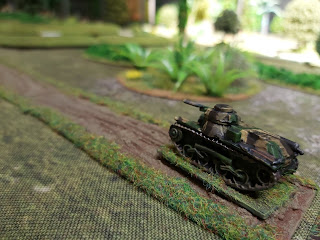
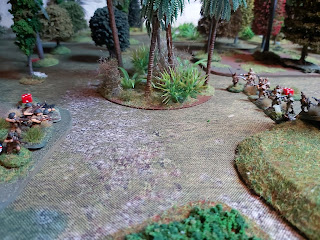
However a Type 95 Ha-Go tank was soon on the scene, heading down the road to engage the defenders.
An exchange of gunfire on the Japanese left flank saw the Australians taking casualties.
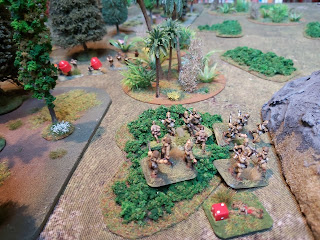
Another Japanese section took up positions to threaten the right flank.
The combined fire power of the two attacking sections meant that the Australians were wiped out!
But a third section appeared to try to hold the Jumping off point.
But with mounting casualties and the unrelenting pressure of the Japanese attack the Australians decided it was better to withdraw from the battlefield, regroup and set up a new defence line further south. They had lost a third of their men whilst the Japanese had taken four casualties from the ranks and one junior leader.
So, despite a dismal start from the previous Japanese attack, the second wave broke the defence line. This campaign will get increasingly difficult for the Australians as they have scant replacements to bolster their beleaguered force. But fortunes may be reversed and we'll have to see what the next scenario brings!


Comments
Post a Comment