Han Shot First: A Star Wars Legion AAR
On a small forest planet situated on the Outer Rim a plucky band of Rebels led by Captain Solo landed carefully in a rebel shuttle. The team had tracked the remains of a crashed escape pod containing secret plans for a new Imperial Star Destroyer. Locating the pod the rebels only had a few moments to throw up a defence perimeter of barricades before an advanced Imperial landing party moved on their position. The Imperials were also seeking to secure the pod and its contents!
In this game of Star Wars: Legion, I took the attacking Imperial forces of a platoon of Stormtroopers (4 squads each of 8 troopers, plus 2 command), a squad of 5 Scoutroopers and a supporting AT-ST, all lead by General Veers. Dean controlled the Rebels, commanded by Captain Solo, with 4 x 10 trooper squads (one in reserve), 2 AT-RTs (one in reserve) and a sniper unit of 2 troopers. The mission was simple: the Imperials had to capture the space pod and the Rebels were to stop that happening. The Imperials had a lot of ground to cover before they could bring their heavy firepower to bear, so I immediately dispatched my scouts to use their ability to move forward quickly.
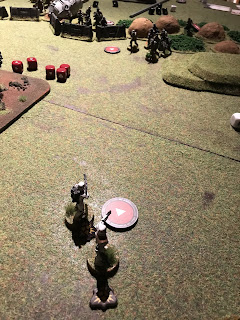
As the Stormtroopers on my right flank advanced they took some fire from the Rebels, but not enough to worry them. Given the length of the table and the forces being quite far apart, we put together some home brew rules for being able to fire beyond the nominal distance in Legion (see the end of this report for a full break down of how they work).
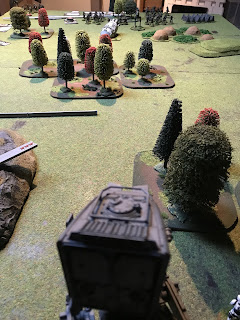
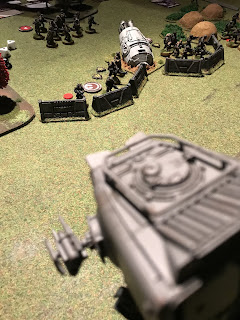
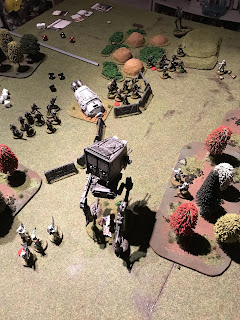
I was eager to get the AT-ST in to the fight as it was it's first outing and pushed it forward behind the cover of the trees.
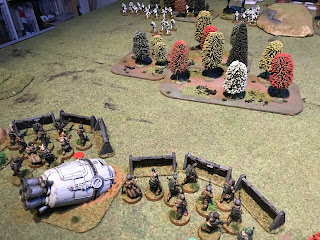
The Rebel defence line looked pretty steady and they steeled themselves for the Imperial assault.
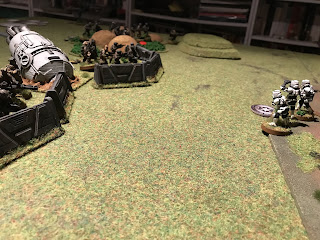
Even moving quickly it looked an awfully long way to the barricades from the Imperial lines. crossing open ground under fire was not a prospect to relish!
The AT-ST was able to make its presence felt by firing off a few volleys at the Rebels behind the barricades, the fire was too great a distance though and little damage was caused.
On the Rebel flank, the AT-RT emerged from behind the woods to fire on some of the left flank Stormtroopers, but it was careful not to get into sight of the AT-ST.
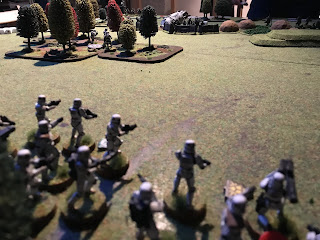
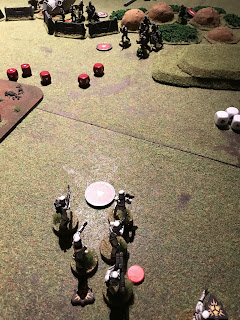
The Imperial line was slowly advancing, but taking fire all the time. However, firing back the at the defenders was proving difficult with the desultory fire from the Stormtroopers.
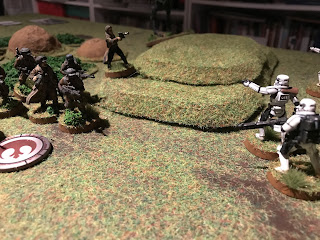
The Stormtroopers on the right flank were taking a lot of fire from the sniper team and other Rebel troopers, but they were able to return fire.
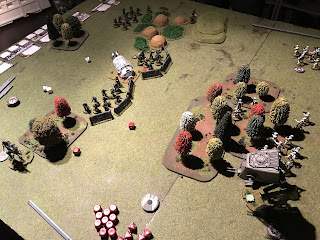
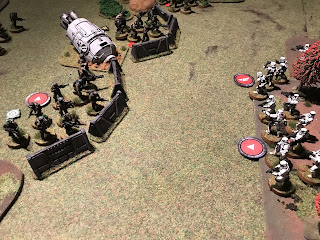
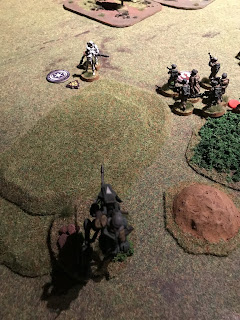
The scouts had reached the edge of the wood and were now in effective range and overlooking the Rebel defence lines!
As more Stormtroopers were able to pass through the woods the Rebel reserves began to appear on the field at the rear.
A massive firefight ensued and the scouts and many of the Stormtroopers were wiped out in the shooting.
The AT-ST added its firepower to the Imperial attack after destroying the AT-RT and nearly destroyed another Rebel unit. Unfortunately, fresh reserves were now on their way!
The Imperials were taking more casualties on the right flank for little gain, but they were able to exchange shots with a Rebel unit and the snipers.
Despite the heavy punishment the Rebel line still held firm and Captain Solo moved forward to help the rebel effort.
With the help from Captain Solo, the flanking Rebels took aim...
And annihilated the Imperial flank!
A second rebel AT-RT advanced from the reserves to look down on the remaining Stormtroopers. This was not going to end well for the Imperials!
Then Captain Solo broke cover to fire first at the Stormtroopers. He finished off one unit and caused the second to panic!
It was the end of turn five and I threw in the towel, the Imperials had been utterly defeated and with only seven troopers left to face nearly thirty Rebels it was going to be impossible to gain the objective in a single turn.
By the end of turn five the Imperials had a badly damaged AT-ST, a heavily wounded General Veers and seven troopers remaining. Someone on a Star Destroyer felt the icy grip of a Sith Lord around their neck as they tried to explain away the failure to rescue the plans.
I am not sure if I over egged the rebel defence by giving them four units and two AT-RTs, but even if I had dropped these from the list the would have still won. However, turn six may have been a bit different with less Rebels on the table as the AT-ST may have made an impact with its heavy cannons. Despite an Imperial loss for me, it was another great game of Legion.
As mentioned above, we homebrewed some rules for firing beyond the ranges printed on the unit cards as they always seem way too short for energy weapons to me. Most weapons now have two ranges, (don't include grenades, other hand thrown or obvious weapons in this mix though!) Effective and Extreme. Effective is as written on the cards, Extreme is anything over that, so a Stormtrooper blaster is 1 - 3 effective, 4+ extreme. At Effective range, all weapons fire as printed on the cards. At Extreme range all weapons that roll a number of Red or Black dice drop down to the next dice in this sequence: Red - Black - White. So, the Stormtrooper DLT-19 fires at Effective range at 2 Red dice, so at Extreme range this drops to 2 Black dice. Simple enough.
The difference is weapons that fire with a White dice and these are handled in one of two ways: In the case of troopers (such as the Stormtroopers with their one white dice each), take the number of dice normally used and half it at Extreme range (rounding down). So a Stormtrooper unit of five troopers firing at Extreme range would roll two White dice (half of 5 is 2.5, rounded down to 2). For heavy weapons (the AT-ST laser cannons for example), a single White dice roll is ignored, or if multiple White dice are used, half it. So, the AT-ST main laser cannon firing at Extreme range would fire: 2 Black, 3 White dice. This is achieved by taking the effect Effective range dice: 2 Red, 2 Black, 2 White. The Red drop to Black, the Black drops to White and the two Whites are halved. The smaller laser cannon on the AT-ST fires 1 Red, 1 Black and 1 White at Effective range, at Extreme range this drops to 1 Black and 1 White (the third White dice is ignored).
Armour rolls and dodges remains the same and this stops the game turning into a long range slug fest. We played with these rules and the fire at Extreme range was good, but not enough to stop the attack and we still needed to get in close to cause damage. It also forces units to use cover during their advance. Try them out for yourselves and let me know how you got on with them!
And finally, the archaeological excavations at Bullecourt I was involved with in 2017 and 2018 will be featured on Digging for Britain tonight at 9pm on BBC4. It can be viewed on BBC IPPLAYER (UK only, sorry!).









That looks like it was a fun game. Are characters alwaysthat powerful in the game?
ReplyDeleteI'll look up the program you mentioned too.
Cheers,
Pete.
Cheers Pete, some of the main characters are, like Han, Luke and Vader. They also get add-ons so you can play about a bit with their abilities. Some of the lesser characters, like Veers are not so much powerful and he really only adds command abilities to the mix.
DeleteVeers is more powerful than Vader. Using home brew also probably messed with the mechanics a lot. Not a fan of "extreme range". It also seems unfairly unbalanced to give the rebels heavy cover the entire game and not even put some terrain between the two forces. It would have been a more interesting game and a more fair game if the objective had been in the middle of the table. IMO. also messing with squad size is *sigh* unreasonable. they are in their squad for a reason and making them unbalanced is just weird. obliviously the game is about fun, and no hate on enjoying legion, but you were not playing legion. You were using Legion minis to play another game. I dont mind this at all, but it would be the reason why your imperials got annihilated.
DeleteCheers!
Nice AAR. Down with the Empire!!
ReplyDeleteThank you! The Empire is the only way to bring order to galaxy, the Rebellion brings division and chaos! It must be crushed!
Delete