Chain of Command, Malaya 1942 Pint Sized Campaign; Scenario 3: Fix The Enemy
Coming back from Vienna meant that I had to quarantine for two weeks, which meant I was not able to go anywhere during the bank holiday weekend. So I decided to continue the Malaya 1942 campaign that I have been playing with Chain of Command. The Australians had taken a battering in the previous scenario and had lost about 16 men. They reorganised themselves into two sections, one with two LMGs and three rifles and the other with six rifles and one LMG. Both had an SMG as well. Along with their 2" Mortar and Boys anti-tank rifle they fell back to their next position.
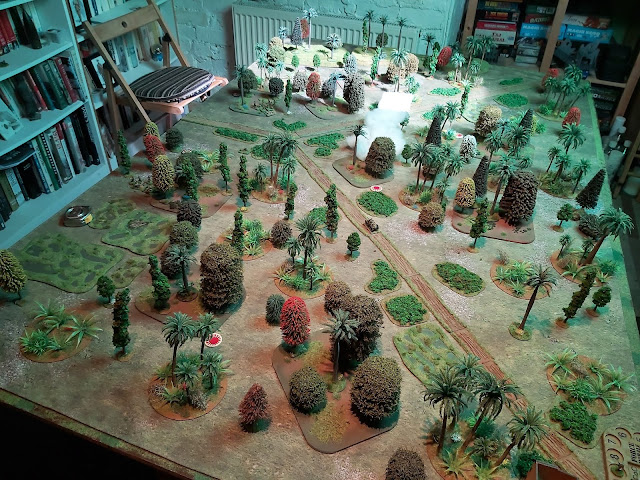
Meanwhile, the Japanese had only lost five men in the previous scenario so the platoon was in good strength and Lt Noda Takura and Sargent Yahiro Naonobu remained in command to lead the men forward again.They were supported by a Type 95 Ha-Go tank. Given they were attacking and had the Jungle Fighter trait they were able to get their patrol markers more than halfway across the table. This scenario required them to simply get one team (at least) off the Australian's table edge to win a victory. At the outset this looked simple enough and something that could be completed in two moves!
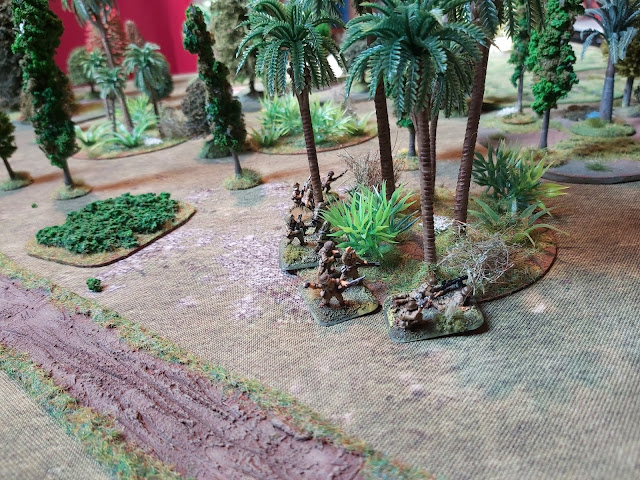
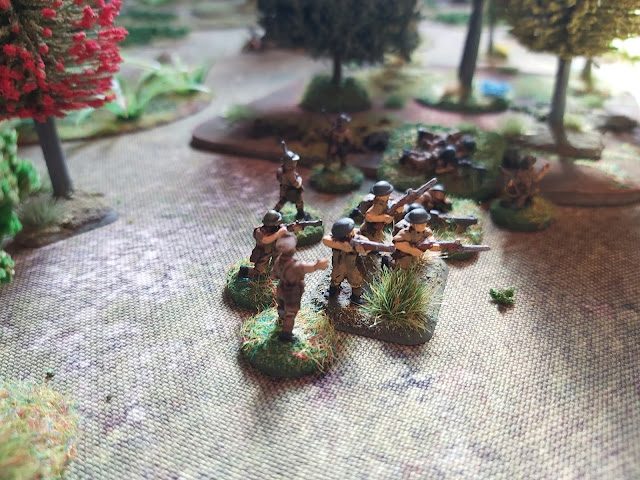
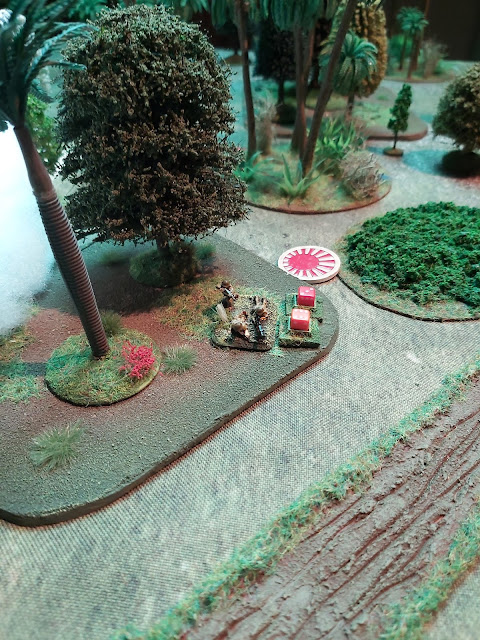
Their initial command roll meant that all three sections were able to deploy and they took up positions in the jungle to cover the Australian jumping off points.
So within one phase, the Japanese were on the table and in strength and gunning for the table edge.
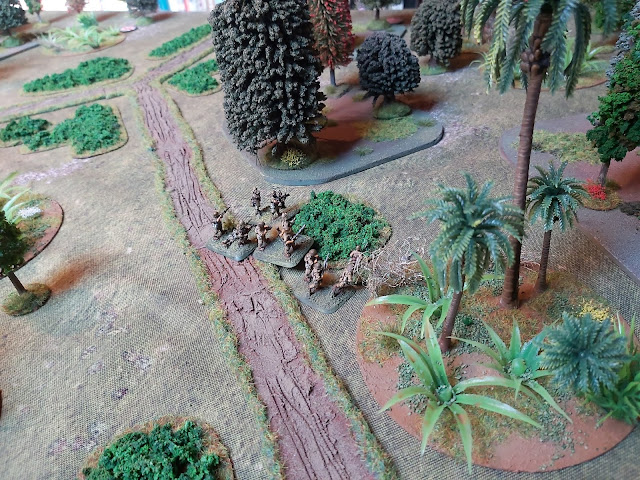
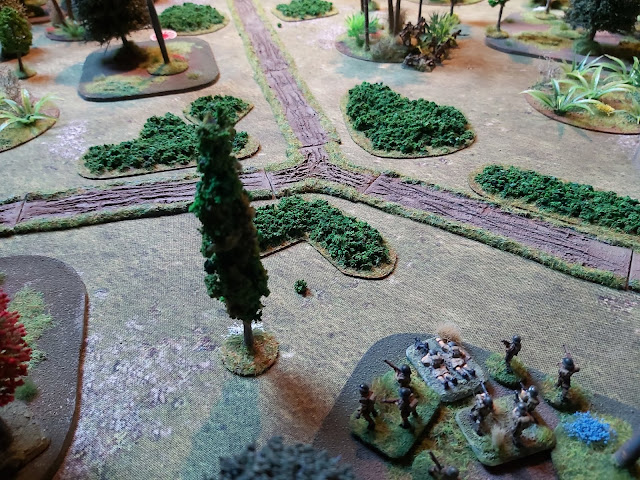
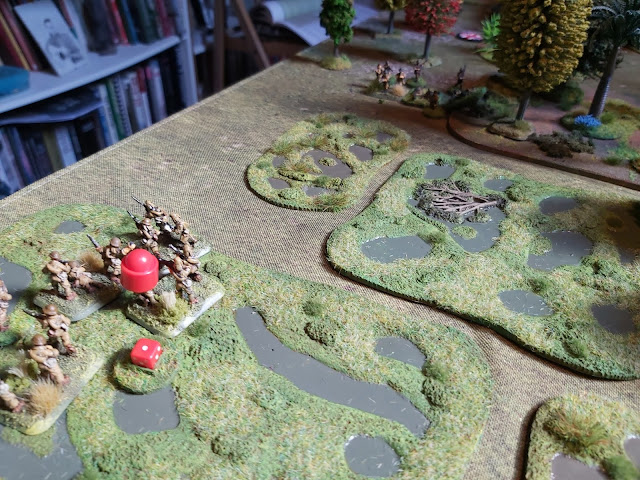
However, the Australians reacted to the threat and moved towards the edge of the marshes.
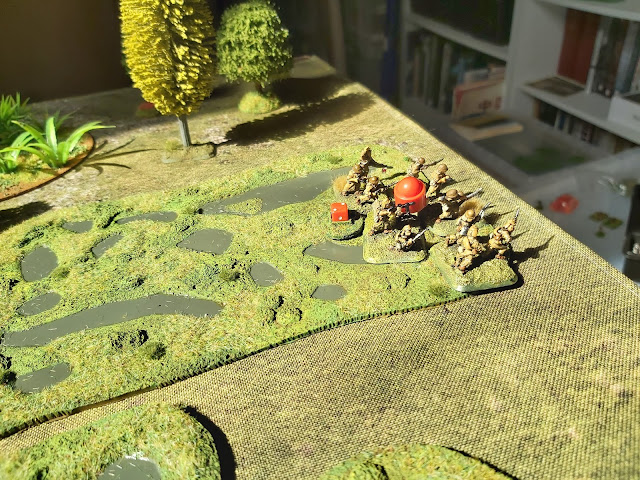
Whilst their second section held their ground on the edge of the jungle.
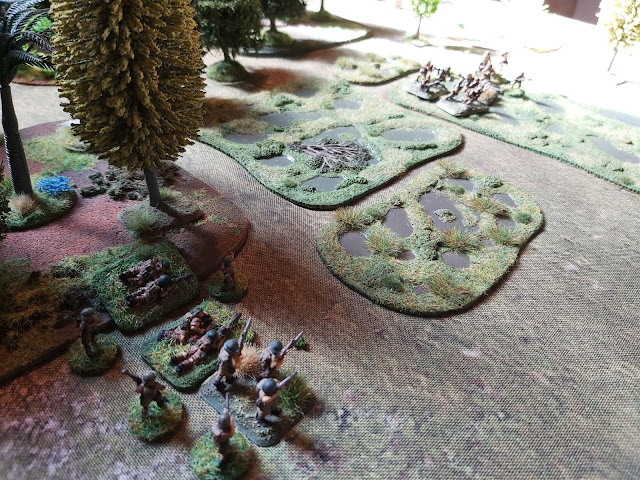
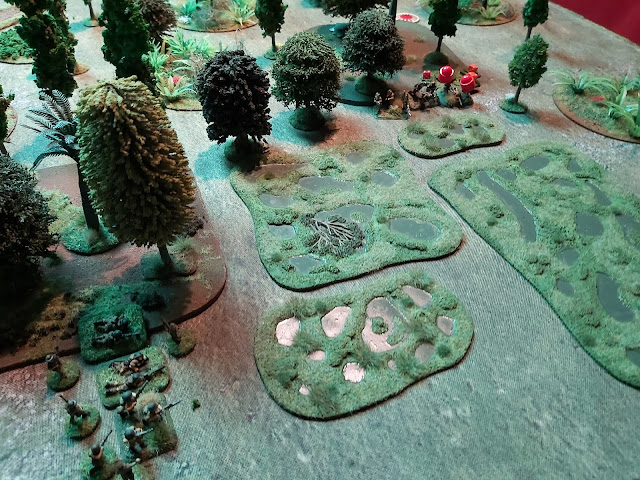
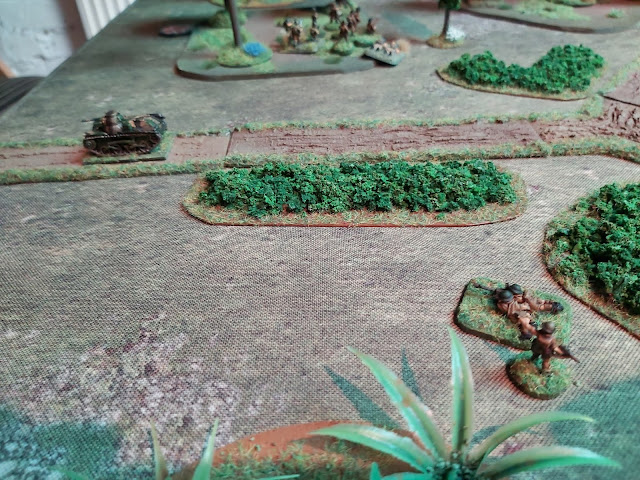
As the Japanese advance across the open marshes, two Bren guns open fire and cause casualties and shock, but the attacker push on for the table edge.
Lt Asquith arrives to take personal control of the situation ordering the men to pour fire into the enemy.
Meanwhile Sgt Thompson took control of the other section to direct their fire against the Japanese infantry.
Pushing on through the swamp with mounting casualties the first Japanese sections moves to within a breath of the table edge.
Another round of firing from the Australians meant more shock on the Japanese section and their Junior Leader being hit.
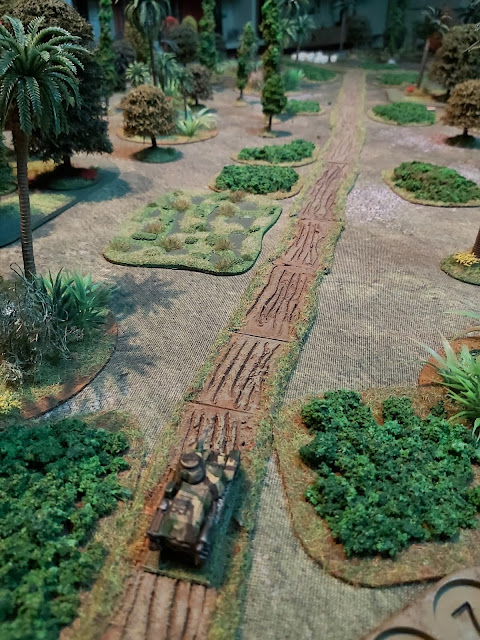
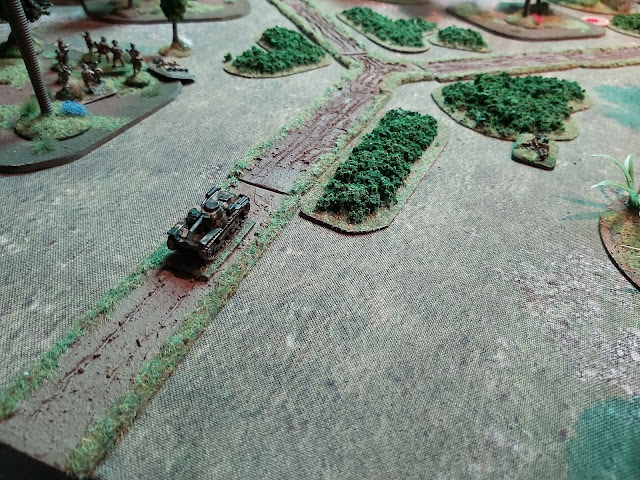
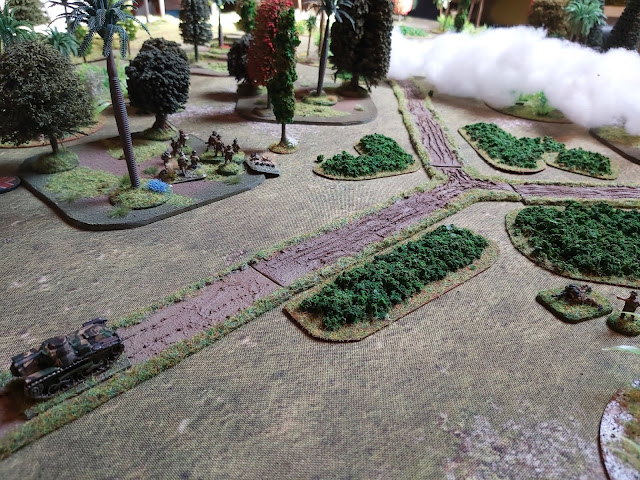
With the attack bogging down literally in the mud, the Japanese brought on a Type 95 Ha-Go tank to try to smash through the Australian lines.
Meanwhile Sgt Naonobu moved forward to try to get the forward section to move from their position.
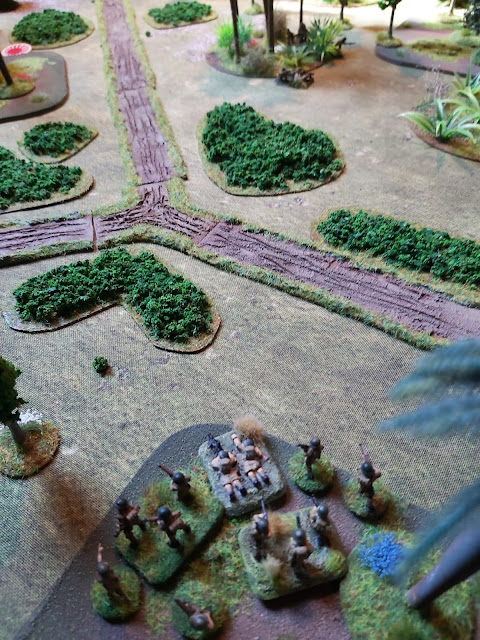
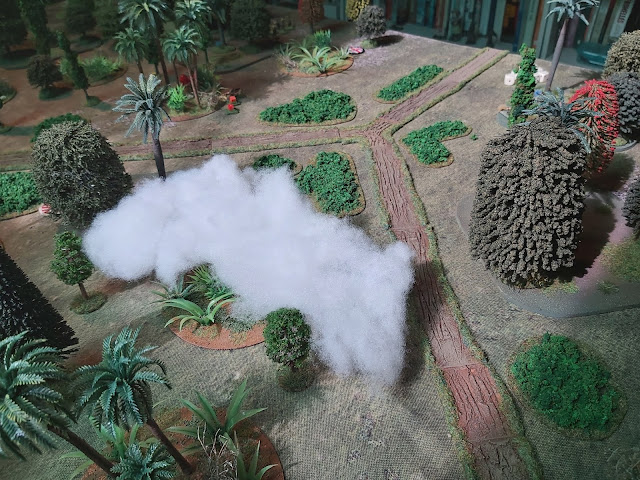
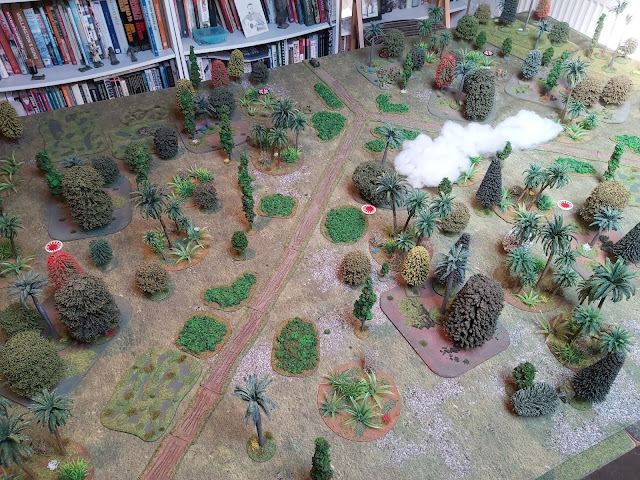
A discarded camp fire sparked back into life and caught fire to the surrounding jungle with thick plumes of smoke covering the centre of the field.
Meanwhile, the Australians commanded by Sgt Thompson laid down so much fire on the Japanese section in the centre that they break and run back to the jungle.
And on the Australian's right flank the second Japanese section breaks and falls back across the marshes. The attack is collapsing quickly!
The Australians use a Chain of Command dice to end the turn meaning that the two broken Japanese sections are driven off the table.
As the Ha-Go approached the table edge, a Boys team took up position and fired but with no effect.
Even with shots bouncing off the armour, the Ha-Go pushes forward to try to get off the table edge.
Desperate times require desperate measures and Sgt Thompson races across to the Boys team and instructs them to fire at the Ha-Go as it passes them by.
Despite their best efforts, the Ha-Go survives and gets off the table giving the Japanese a victory!
With the Ha-Go bursting past the Australian lines the Japanese claim a victory!
So, the Japanese won the game, but only just. ad the Australians had a 2 pounder anti-tank gun they may have had a better chance against the Ha-Go and stopped it. Despite this looking to be an incredibly difficult game for the Australians at the start with the Japanese jumping off points being so close to the table edge they held their line and caused huge casualties on the attackers. Destroying the two sections was an incredible feat of strength and both Lt Asquith and Sgt Thompson will be put forward for medals and mentioned in dispatches for their valiant efforts in defence. This game was incredibly exciting and I genuinely thought it would be over in a couple of moves, but the attack was stopped pretty well. The Australians, however, were defeated and will fall back to their next position further down the road. The Japanese platoon will be replaced by a fresh one having taken such heavy casualties. But that encounter is for future!
Meanwhile, you can also watch the action on the video AAR over on the Storm of Steel Youtube channel:






Brilliant stuff. - getting quite tense following the forces.
ReplyDeleteCheers,
Pete.
Thank you! Yeah, this is a tense campaign, all the Australians can do is to keep hoping they don't lose any more casualties.
DeleteGreat looking game what range are the figures
ReplyDeleteThank you, they are a mix of Peter Pig, Forged in Battle and Command Decision.
DeleteThanks for the info I thought I recognize some of them
Delete