Reinforced Shell Hole
Battlefront Miniatures have recently released their 'Battlefield in a Box' range of First World War terrain pieces. Now, in my opinion, not only do these look pretty nasty, but they are uber-expensive as well. I prefer to make my own terrain and feel a lot better off for it than something that has come straight out of a box. I had a discussion on TMP about my preference and was told that people have neither the talent, time or room to make such items.
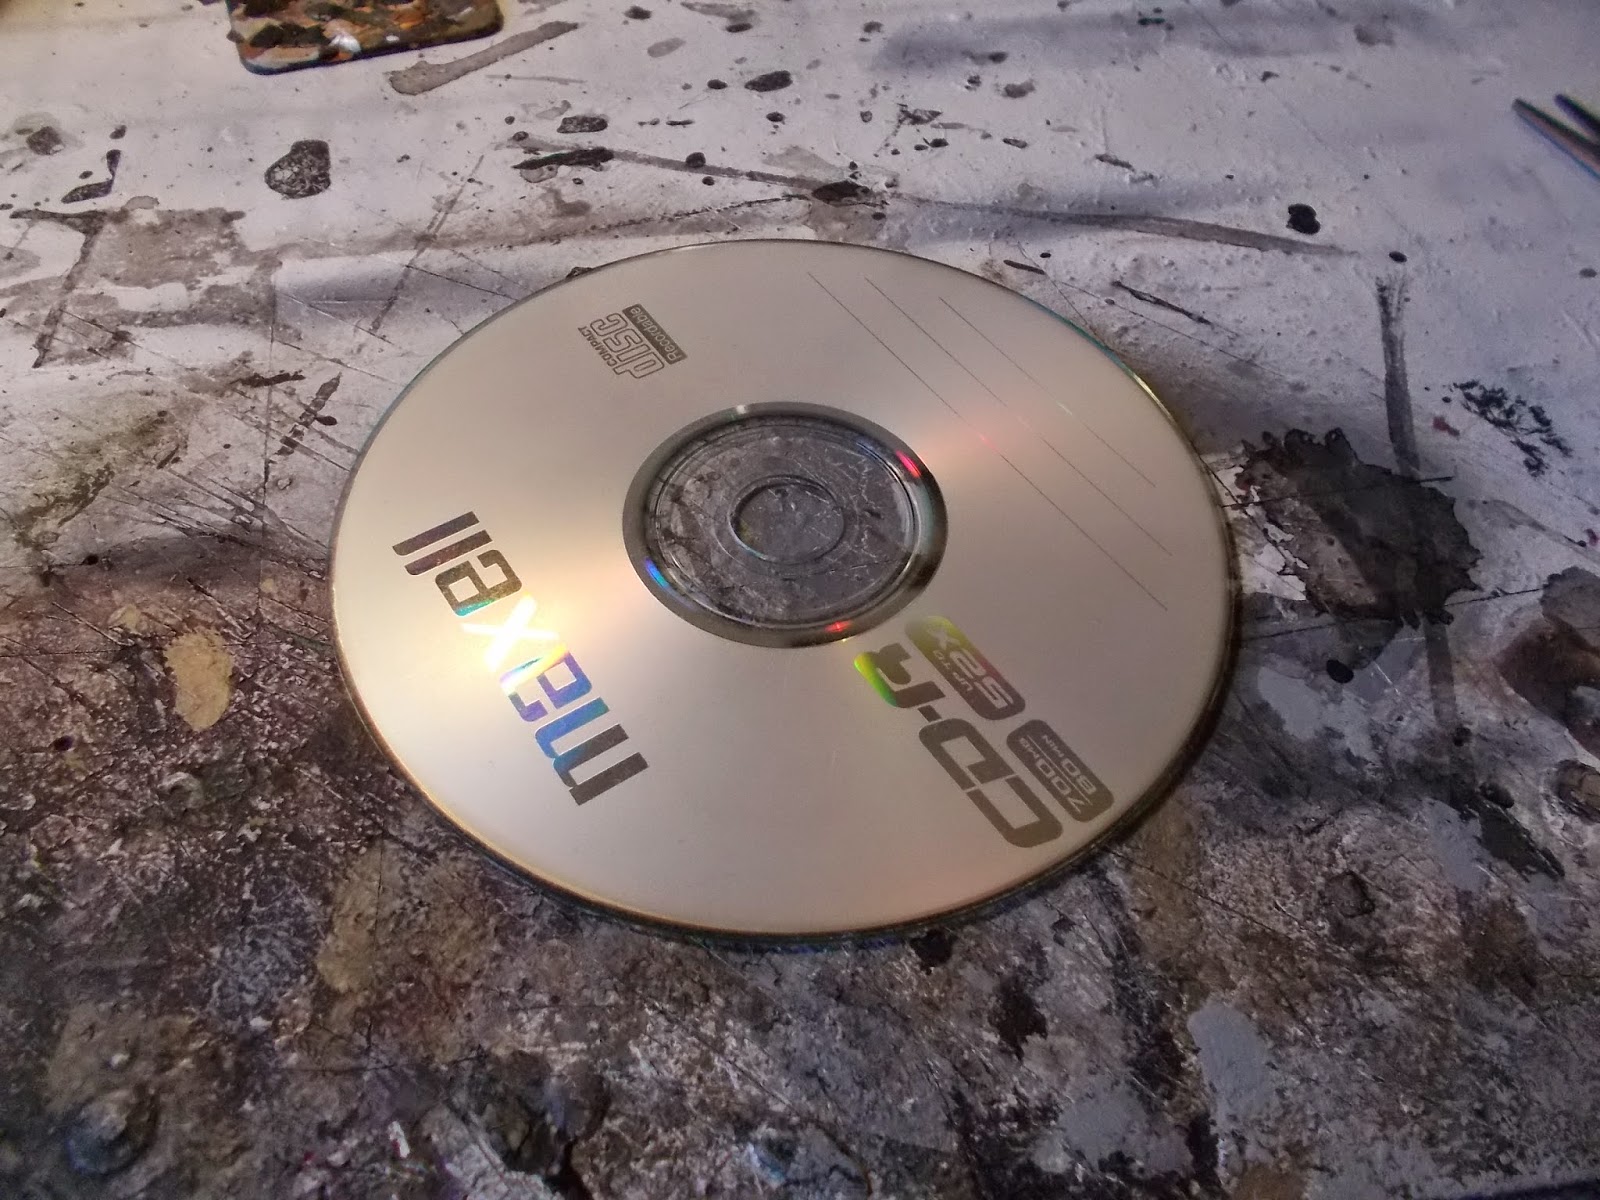
I argue that they do; especially as the Shattered Battlefield set is so bloody easy to make yourself and for a fraction of the cost. With this in mind, I decided to make a reinforced shell crater for my 20mm First World War games and this is a timed tutorial to show how easy the process is. I grabbed a blank CD that was lying around:
I argue that they do; especially as the Shattered Battlefield set is so bloody easy to make yourself and for a fraction of the cost. With this in mind, I decided to make a reinforced shell crater for my 20mm First World War games and this is a timed tutorial to show how easy the process is. I grabbed a blank CD that was lying around:
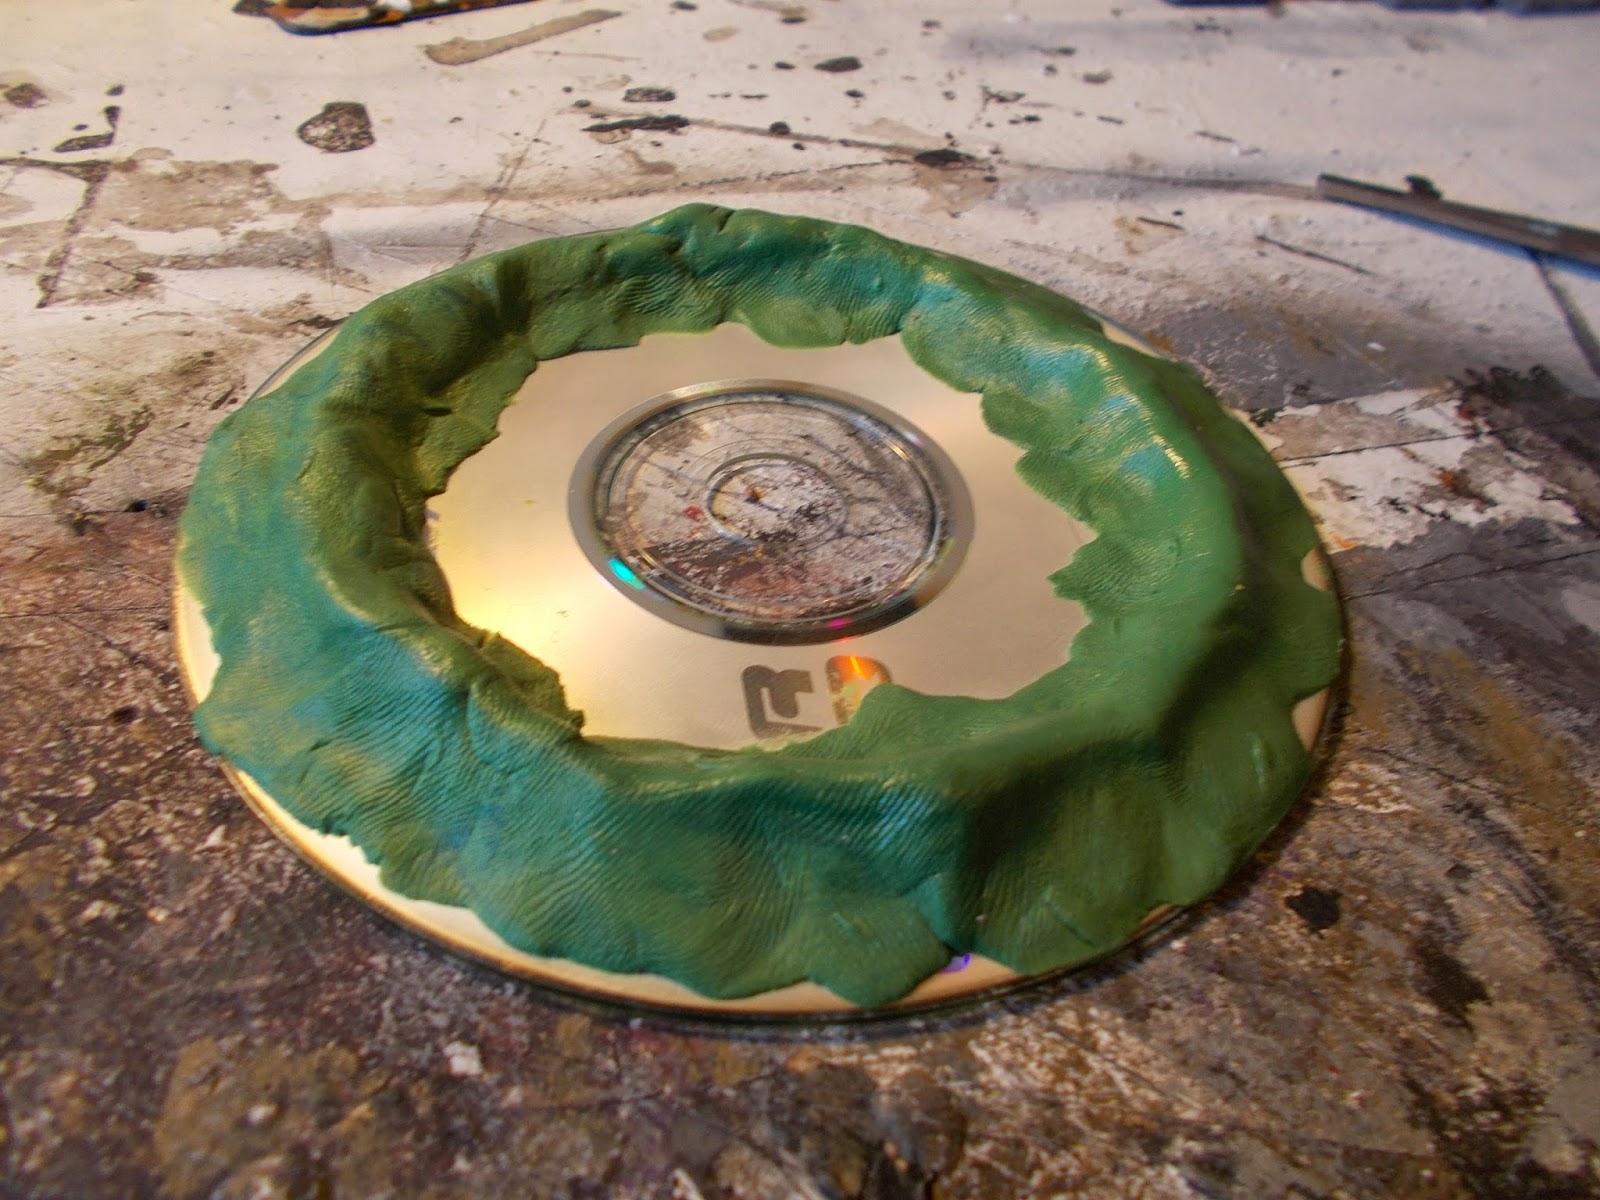
Then, taking some Green Stuff, I moulded into a thick lip for the crater, then smoothed it onto the CD edge, making sure to get rid of the way around. This took about ten minutes including mixing the Green Stuff. Total time: 10 mins.
Then on one edge I cut a small amount of the Green Stuff to make it look as though someone had dug a vertical edge against the sloped side of the crater which was sandbagged. This was doctrine of the various armies in the First World War and shellholes were used as defensive positions by the Germans in particular in the latter part of the war.
To make the sandbags I simply took a small strip of Green Stuff, flattened it slightly and laid it across the top of the vertical edge. Then I scored lines on the strip as individual bags. I added another layer above in precisely the same manner. Then in the Green Stuff below the first line of bags I scored more lines as though there was another line of bags there. Total time: 20 mins.

Then it was put aside overnight for the Green Stuff to cure. I also glued a small square of paper over the hole in the centre of the CD. The next day I sprinkled sand over the top of painted on PVA glue:

Then I shook off the excess and left it to one side to dry. This whole process took literally two minutes. Total time: 22 mins.

Then I shook off the excess and left it to one side to dry. This whole process took literally two minutes. Total time: 22 mins.
The next stage was to prime it, I used a spray can car primer from Halfords. It's an acrylic and will fix the sand in place for easier painting later. This took about ten seconds, but let's round it up to thirty seconds, as I had to shake the can... Total time: 22.30 mins.

After I left the shell crater to dry whilst I was at work, the next stage was the base colour of German Camo Black Brown from Vallejo. This was liberally applied with a big brush and took me three minutes. Total time: 25.30 mins.

Once this was dry, I went back to the piece and drybrushed it all in Khaki and painted the sandbags also in Khaki. The drybrushing was simple and pretty heavy handed (load up a big brush with paint, wipe most of it off with a paper towel, then gently brush it over the piece, the highlights will be picked up nicely). This took no more than two minutes. Total time: 27.30 mins.

Then it was a matter of inkwashing the sandbags in Army Painter's Dark Shade Wash and left it to dry. Then I drybrushed the sandbags in Iraqui Sand. I've lumped these two sections together, but in total they took about a minute. Total time: 28.30 mins.

Next up was to add some texture to the base, for this I used my premixed grey rubble mix. I appreciate that not everyone has this, but it is worthwhile making these premixed weathering as they save a lot of time and hassle in the future. There is a link to how I made this one HERE.

I painted some PVA glue in random blobs across the shell hole, sprinkled the rubble mix over the entire piece:

Shaking off the excess onto the paper towel the result looked pretty good to me. This took two minutes max, including searching for where I had put my tub of rubble mix. Total time: 30.30 mins.

I did the same again with some dessicated cork, this is similar to what I have done with the bases on my figures for Through the Mud and the Blood, so everything ties together. This took another minute. Total time: 31.30 mins.

And that was it apart from spray varnishing, which took a matter of seconds. The end result took me 31 minutes and 30 seconds. Of course, this didn't include drying times, but the piece was left to dry overnight or whilst I was at work in between steps, so that didn't interfere with the schedule. Remember though, you could do quite a few of these at once, it would push the times up a little, but not much if they are done in stages, like I did. In total time it was probably a week's worth of small steps (I lost count, as I started this before moving house and was only able to pick it up again once we had sorted the house out properly! However, that also demonstrates that these things can be made in the middle of chaos!).
Here is the final finished piece, manned a three man German HMG. It's not amazing, by any stretch of the imagination (my modelling sills with Green Stuff leave a lot to be desired, but it was the first time I'd used it, in my defence...), but looks good enough for me and was a damn sight cheaper than the Battlefield in a Box, coming in at probably less than £2 for the materials used.

Thanks for looking and I hope this inspires someone!

A great looking piece of terrain, very creative!
ReplyDeleteCheers Phil, I'm glad you liked it!
DeleteA great idea.
ReplyDeleteThe end result looks good.
Thanks Maximex, I'm glad you liked it, I am quite pleased with how it turned out!
DeleteLooks terrific
ReplyDeleteI play 28mm mainly so no reinforced crater but the the technique is equally useful for smaller pieces
Thanks Anibal, The figures in the last picture are 20mm, so they are not too far off 28s... For larger size, you'd just need to up the amounts of materials used, I guess.
Deletea simple yet very effectively made terrain piece. Excellent work and thanks for sharing
ReplyDeleteThanks Neil, I'm glad you liked it.
Delete