Burn Baby, Burn! A Trench Hammer AAR
Near Ypres, on a quiet Sunday morning in February 1917, Leutnant Ficker gathered a group of Stosstruppen, Grenadiers and men armed with MG08/17s and planned a trench raid on the opposing British lines. The plan was to capture prisoners for intelligence gathering and also keep the Englanders on their toes. On the opposite side of the wire, Lieutenant Gotobed walked up and down his stretch of the trench checking the men as they brewed up their tea and made breakfast. Suddenly, one of the machine gun crews shouted the an alert, the bally Boche were attacking! This just wasn't cricket!
In this game of Trench Hammer Ninjasurus Rex took the German attackers and I had the British defenders. The German force consisted of an ad hoc group of three Stosstruppen gruppe, two Grenadier gruppe, two MG 08/15 gruppe along with a Flammenwerfer. This was commanded by Leutnant Ficker. They were planning on capturing as many British prisoners as they could from the three available. Each prisoner would be captured if the section they were with was assaulted AND defeated. The British defenders consisted of four rifle sections, three machine guns and a leader.
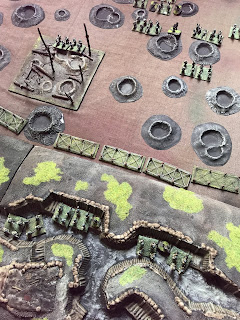
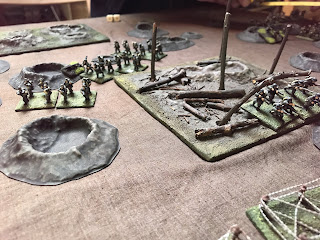
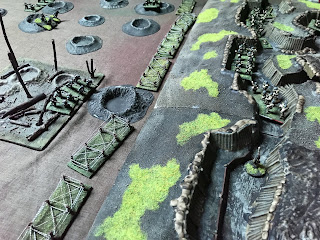
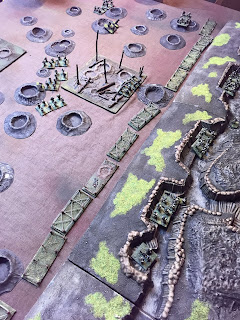
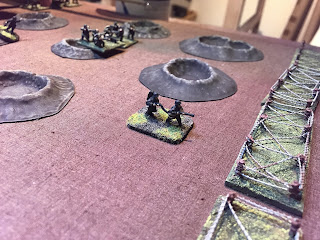
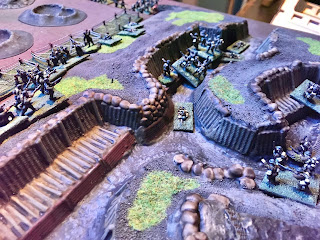
The Germans began by advancing through the shell cratered landscape, using the craters as cover and staying out of range of the British rifles.
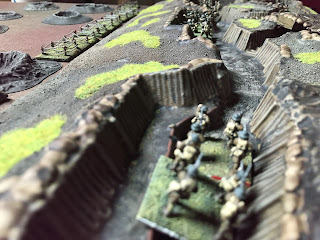
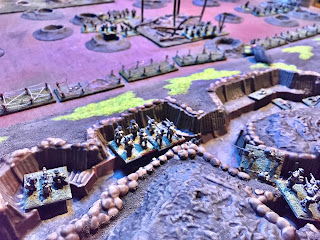
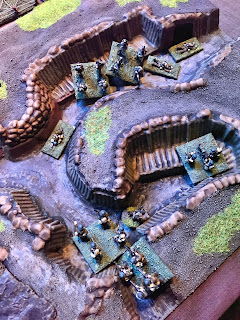
The attack was pointed at the British right flank, so I started to move men down to that area to defend. Yet, they couldn't move very fast as they were in the tight trenches.
Some of the Germans got into the shattered woodland and used the broken ground as cover.
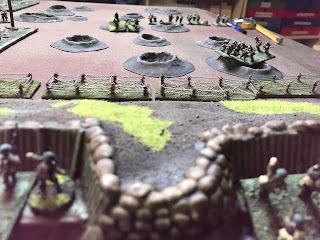
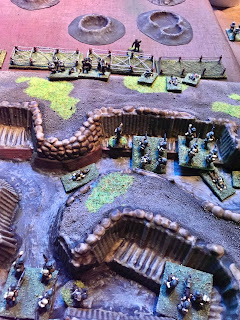
A small party broke off the main attack and moved towards the gaps in the barbed wire in the middle of the British trench line.
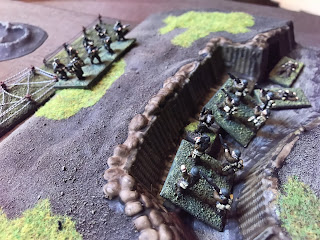
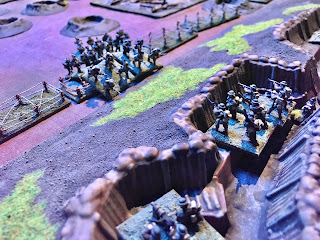
A Grenadier Gruppe made their way through the shell craters and laid down a rifle barrage on the British soldiers on the firing step.
The British section took heavy casualties, but stood their ground!
The other Germans were getting ready to exploit the gaps in the wire!
Crossing the wire a gruppe of Stosstruppen got into position to assault the British rifle section on the right flank...
Meanwhile, the flammenwerfer inched forward...
Until it was in range of the British trench, then WOOSH!
The attack almost destroyed another British rifle section and sent them fleeing from their position!
Using the panic caused by the Flammenwerfer attack, a Stostruppen Gruppe made their way though the gaps in the barbed wire...
And assaulted into the British lines
Yet the victory was short lived as a British rifle section assaulted them with covering fire from the HMG.
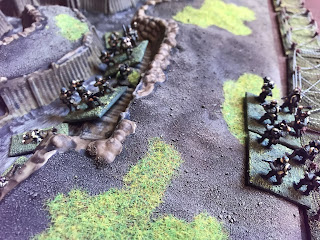
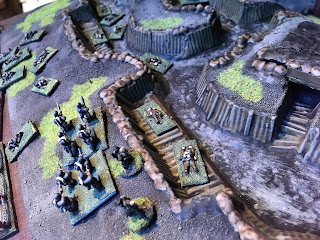
Meanwhile, more German infantry began to threaten the flanks of the British sections.
On the left flank of the British line, a concerted German attack moved their way through the broken wire.
The German Stosstruppen attacked in the trench and although the fight was bitter they were able to capture one of the three British prisoners before falling back into no man's land!
On the British right, another German assault captured another British prisoner! They now had two of the three they needed!
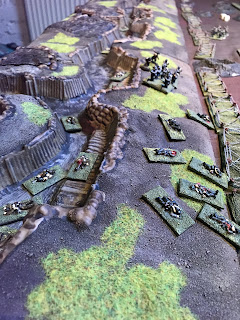
The casualties were mounting on both sides and the trenches were choked with dead and dying men, and another German assault destroyed the final British rifle section on the right flank.
The Germans had three of the prisoners, but a burst of British HMG fire on the left destroyed a German Stosstruppen gruppe, but also killed their British prisoner! Meanwhile, on the right flank, the German grenadiers steeled themselves for an assault on the British HMG to snuff out the last threat here.
The Germans had captured two prisoners and destroyed the British units on the right flank. Although the other British units were trying to make their way down the trench, there would be no way that I would have been able to catch up with the German infantry as they fell back, so I conceded the game.
There were heavy casualties on both sides, including the leaders, but the German attack had secured some intelligence prisoners and shook up the British defences. A job well done!
This was another excellent game of Trench Hammer, which works really well and is easy to set up and play. The only thing I am not too keen on is the IGOUGO turns, but we said next time we played, we'd amalgamate the command cards from Through the Mud and the Blood and see if that unpredictability adds more to the game.
Also, over on the Storm of Steel Wargaming Youtube Channel, I have uploaded a new How To Play video, this time for Quartermaster General, a great fast play Second World War strategy game! Check it out here and don't forget to subscribe!









I cannot wait to see how adding the command system works. I have a set of cards for TTMB that I have never used!
ReplyDeleteCheers Jozi, it'll be on here when we try it. I have a feeling it is going to work really well.
DeleteGreat game report- really looked like fun. I'd bee interested to hear how the random activations goes with it.
ReplyDeleteCheers,
Pete.
Cheers Pete, glad you liked the report. Yeah, the random activation should work well here, I think!
Delete