Gas! Gas! Gas!
Recently, I decided to take my games of Square Bashing up a notch. Instead of just playing the basic rules for a quick game of SB, Dean and I thought we should try out the extra stuff that the quick game leaves out. In the first instance, there is the whole pre-amble which involves working out who is the attacker and who is the defender. This is done by a series of dice rolls, with tied in events, which give the armies attacking points. Dean, as the British, had events including having the French fight on his flank and his forces being bolstered by the Canadians. The Germans (me), on the other hand, got results like 'the Americans are on the way!'
The result of this was that Dean was deemed to be the attacker, but with only an attacking point difference of four points and this meant he was carrying out a reconnaissance in force. I had given us equal armies worth 620 points each, but as defender I was forced to endure depletions. Each unit was rolled for to see if they made it to the field but thankfully good rolling meant that I lost only a single gun, a single base of soldiers and a battalion was forced to go into the reserve pool. Also as defender, a third of my force had to be moved into the reserve pool as well and this amounted to two battalions.
So the starting forces for both sides were:
1 x Higher Command
2 x Professional Battlions
7 x Regular Battalions
2 x Heavy Tanks
5 x MGs
5 x Field Artillery
(remember the Germans were down by a field gun and had three battalions in reserve)
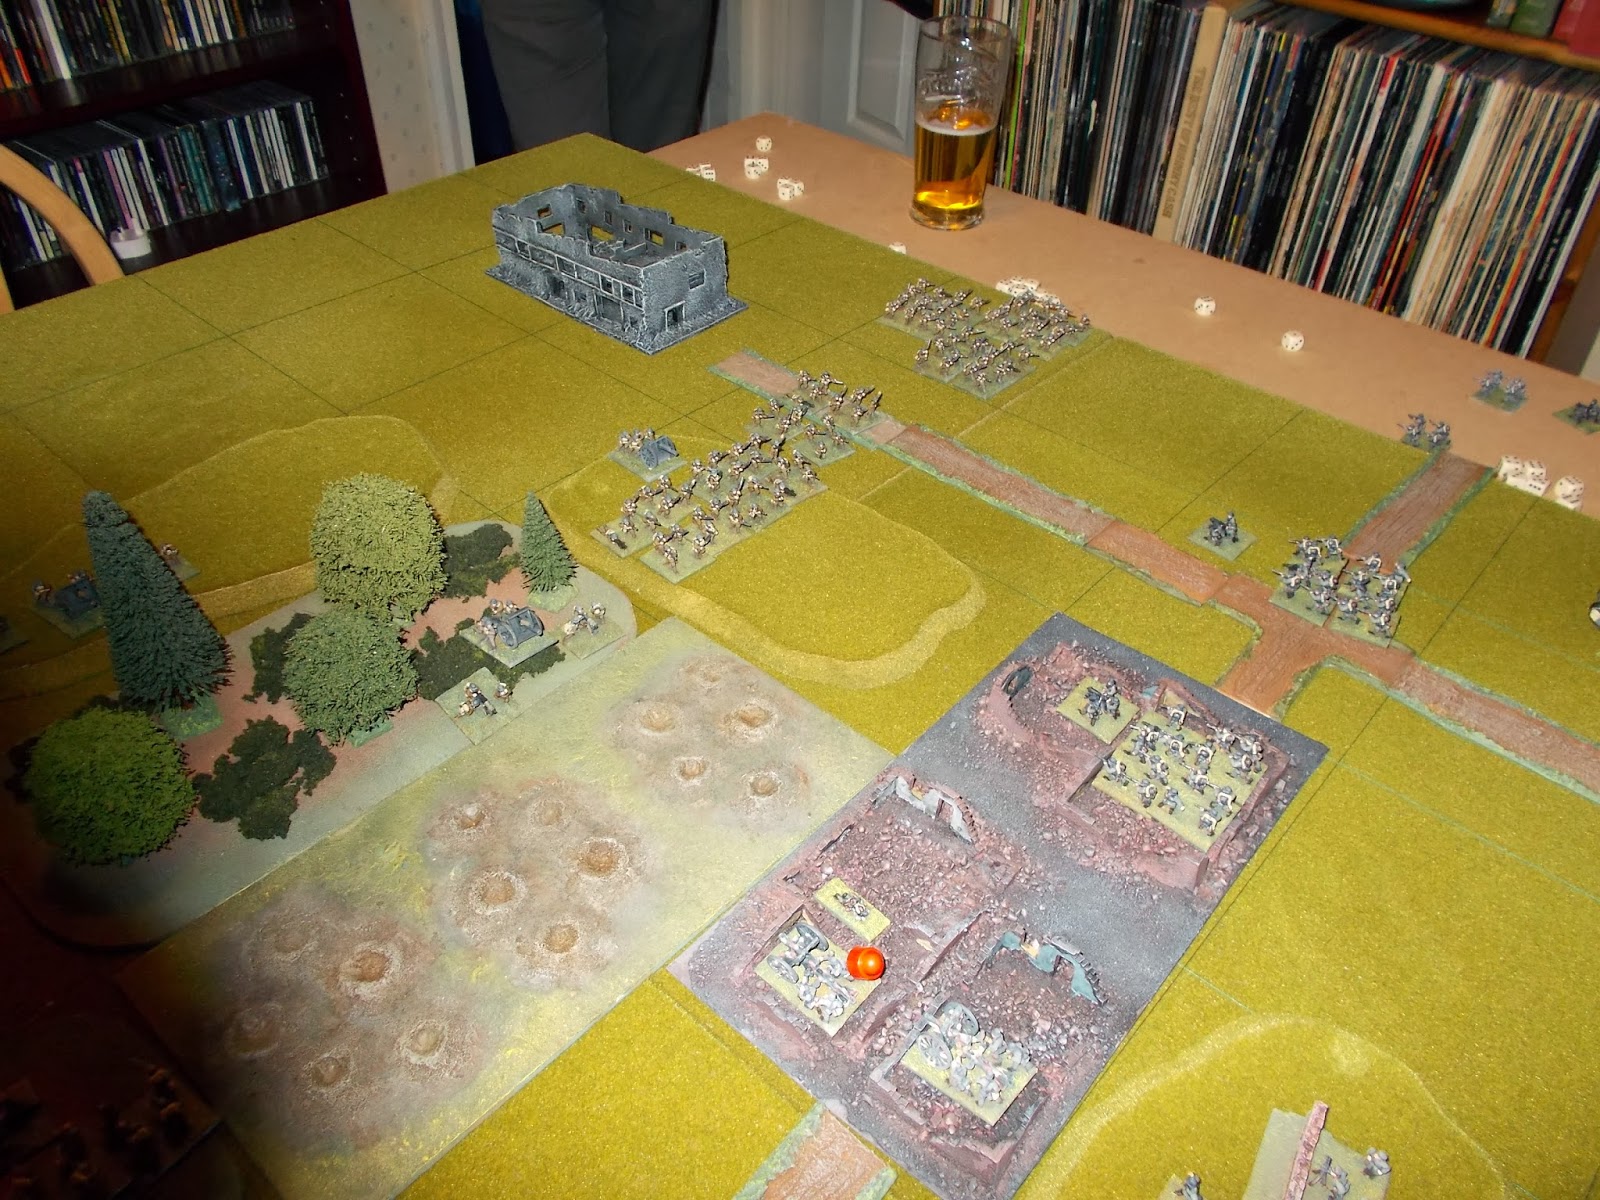
For ease I had chosen the forces before Dean arrived, just to get the game started quicker, so the next thing to do was set up the scenery. I set up the scenery as I wanted and Dean rolled to see if he could move any pieces he wanted to. With this done, we finally placed our forces on the table:

Another thing that the quick game leaves out is assets, which allow for things like barrages, aircraft attacks and similar other things, so we were excited to try these things out. Dean opened the battle by dropping a point effect barrage on my front line defenders in the woods. Unfortunately for him, the 108 Fuses must have been dud as the barrage dropped short of the target, only managing to damage my gun battery in the woods.

He began his advance across the open areas and I replied in kind with a point effect barrage in the midst of his soldiers. However, this had even less effect than the British barrage, it must have been the conscript artillery crew being badly trained in fuse setting.

As the British soldiers advanced under fire, their artillery dropped another point effect barrage and this time it was dead on target. One of the advantages of this form of battery is that a square being assaulted cannot claim support from those squares around it, so in effect he was weakening my defence.

Meanwhile on my right flank a larger group of British soldiers moved up to positions to assault. This was a big force, but I had two tanks on my right flank, which I pulled back ready to launch their own counter-attack against the British.
The point effect barrage was still thudding around the ears of my professional soldiers in the wooded objective and making it hard for me to hold the objective.

And what looked like a immovable behemoth of British soldiers was pressing down on my right flank.

But, a desultory assault against the German defenders in the ruins blunted the British attack.

Also, matters for the British were not helped by my tanks making a dashing attack on the flank and pushing the British back towards their own lines.

The rubbish British artillery was being true to form, when a gas barrage failed to land in the correct spot. Some landed too far forward, some of it fell too short, but none fell on the Germans...

A successful British assault into the woods under the cover of the artillery fire on my left had forced the German defenders out and I was taking casualties at an alarming rate.

The British soldiers kept the pressure up on the German defenders and they were forced back into the gas clouds! The men failed to get their masks on in time and were forced to flee off the field! I'd lost the central objective, two battalions and a machine gun, with barely a scratch on the British. (at this point I actually made a mistake, the Germans that were forced from the field should have returned to the reserve pool, but in the heat of battle I forgot that particular rule and they were deemed to be out of the game!)

Things did look better for me on the right, my men were hanging on tenaciously to the rubble of the ruined village. No amount of British assaults seemed to be moving them out. I was also getting reinforcements to bolster the defence and further strengthened the hill objective by using an asset to dig hasty defences.

I was having great luck with the A7V and Mark IV which were also pushing the British further and further back. There seemed to be no let up here!

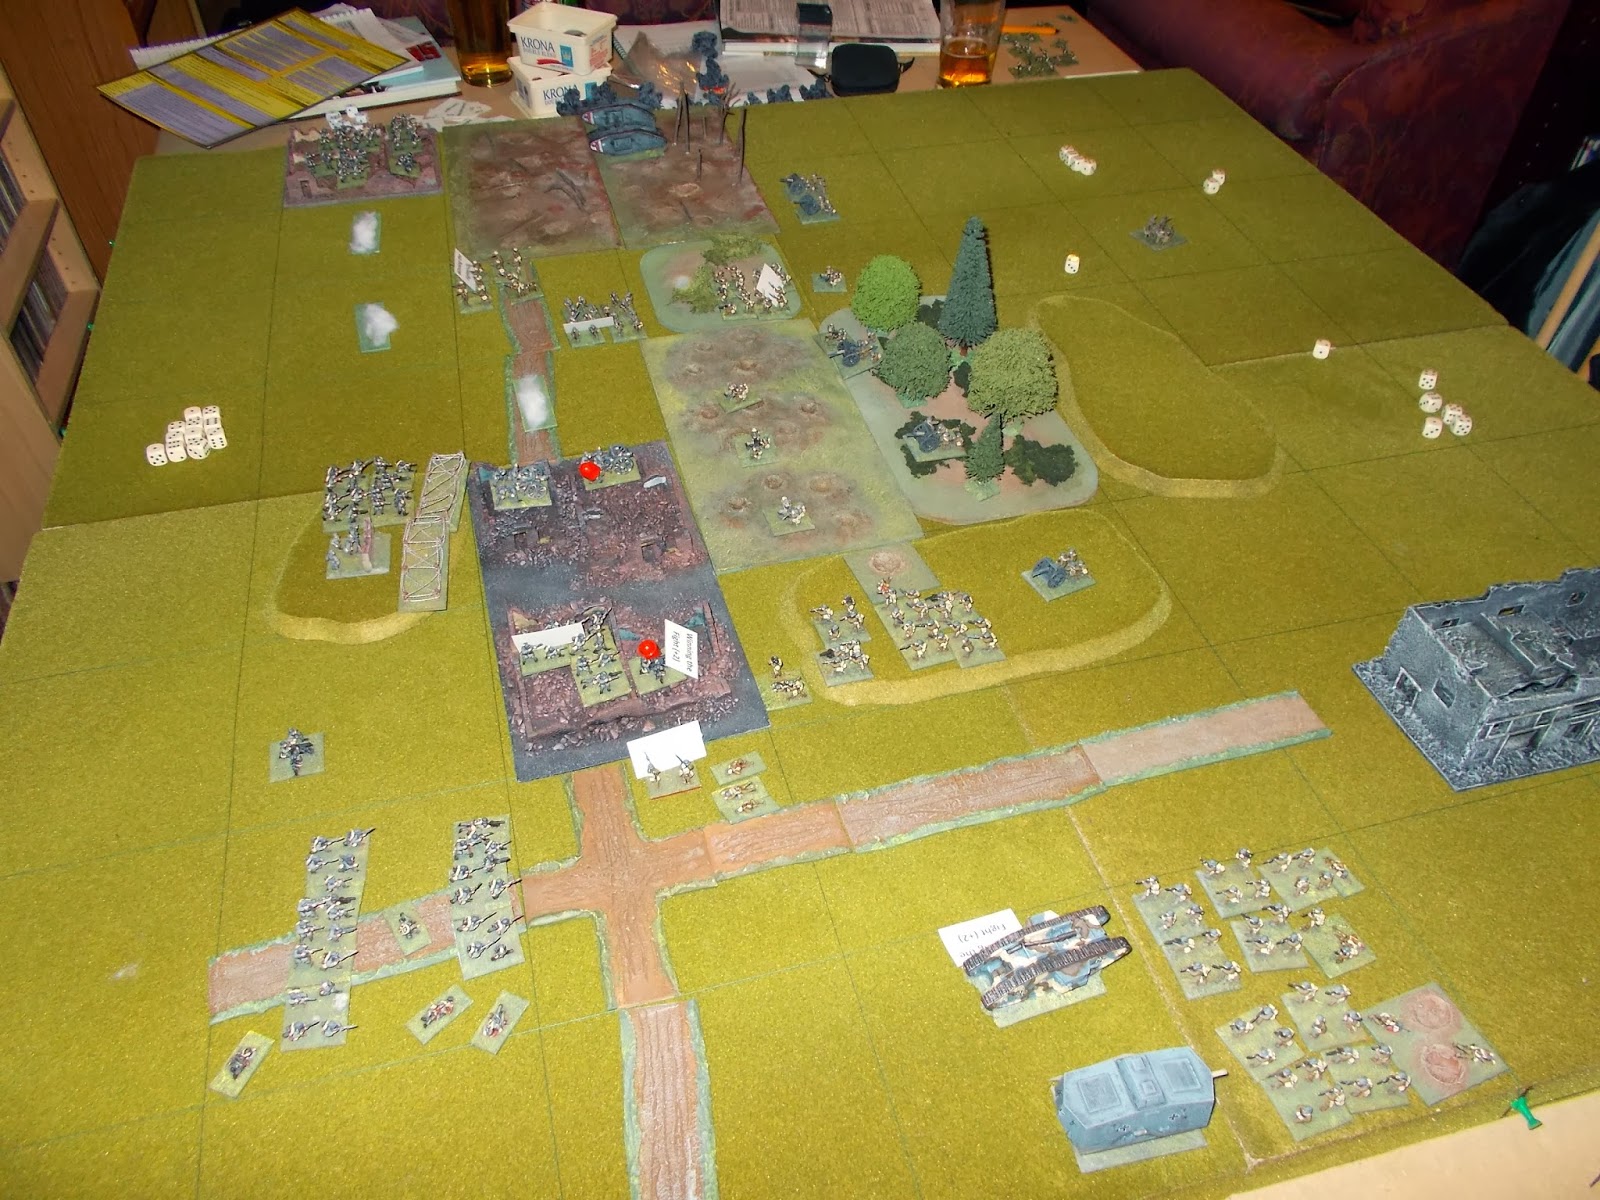
At about half way through, the situation looked like this, my right flank was strong, my centre had collapsed but I still held the objective on the left flank. Not great, but not terrible either.
But then the sound of aero engines could be heard as Bristol Fighter dove in on a ground attack mission. Dean had used one of his assets to bring the aircraft in to help him out.


However, the Germans in the rubble were still grimly holding on, fighting off every assault the British could throw at them.

Then my luck changed on the right flank and the tanks were put on the back foot as the British went for them.

The BrisFit flew in low and strafed the defenders of the ruins, but still they stood their ground.

After what had seemed like an eternity the two British Mark IVs had made their way through the shattered woods and rough ground to get into a position to assault my defenders in the left flank ruined château objective.

This is when it seemed like the game tipped definitely in favour of the British.

His tanks rolled effortlessly over my defenders, Dean told me this was only meant to be a diversionary attack, but it was the most successful of the game! Again, my men were forced off the table edge.

Then came the final assault on the ruins in the centre. The British assault amounted to no less than twenty attack dice!

I was pressed in from all sides and after such a hard and long battering...

... the result was inevitable, the last of my soldiers were killed in the onslaught, but they would rightfully be awarded the Iron Cross, albeit a posthumous award.

And with that collapse, I threw in the towel, I had lost the A7V on the right flank, the Mark IV was damaged and all I had left was my higher command base along with a battalion to support it.

We didn't tot up the victory points as it was pretty clear who had won. Despite losing it was a really enjoyable and exciting game of Square Bashing and I'm glad we got to try out the assets and pre-game bits and I will be using them for every game from now on. It makes the game a bit longer, but add an extra depth to the battle and makes it feel less like a stand alone engagement.
Overall, I'm not sure what else I could have done with my defence in the circumstances. There was some points where I had a few moments of extreme bad luck with the dice, I missed a couple of asset rolls, for example. But the defenders of the ruins in front of my centre really were the men of the match, beating off assault after assault, until they were finally ground down.
Overall, I'm not sure what else I could have done with my defence in the circumstances. There was some points where I had a few moments of extreme bad luck with the dice, I missed a couple of asset rolls, for example. But the defenders of the ruins in front of my centre really were the men of the match, beating off assault after assault, until they were finally ground down.

Interesting. Just from the pictures I can see how the assets and whatnot make the game more rounded.
ReplyDeleteThey really do. Plus the idea of them being controlled by a dice pool makes sure you have to think about what you are going to do.
DeleteNice narrative on the batrep; I got hooked, and wanted to know who'd win!
ReplyDeleteFMB
Thanks FMB, SB is a good game in that it's not always apparent at the beginning who will emerge as victor. My forces were almost the same size as his, but he managed to crush them like bugs!
Delete