Chain of Command, Malaya 1942 Pint Sized Campaign; Scenario 1: The Patrol
With the UK still in the grip of Covid-19, I am still playing games solo for the time being and have been thinking about playing the 1942 Malaya Pint-Sized Campaign for Chain of Command. This uses the rules in the Too Fat Lardies 'At the Sharp End' campaign rules with amendments for Malaya found in the TFL 2015 Christmas Special. The campaign follows the Japanese attacks on the Australian defence line as they retreated down the Malaya peninsular.
I also filmed the game and you can see the AAR below. But I also took photos of the action, which I posted on my Twitter, but I have gathered them all here together below.
The table was set up with a simple single track road running through a defile in the centre of the table. This was the patrol phase of the campaign with both forces pushing forward to contact the enemy. The Australians were able to add a fourth section to their three section platoon for their support lists and the Japanese took an extra three man engineer team for their support. I created some characters for the Australian and Japanese leaders. The British level IV Senior Leader is Lt Herbert Asquith, a tall and thin 25 year old British army officer who had been seconded to the Australians. His NCO is Sgt Bluey Thompson an average 46 year old dedicated Empireman who had fought in the First World War. Opposing them the Japanese Lt Ozawa Teiji is an average 29 year old who was bullied by Caucasian students whilst studying overseas and wants to exact his revenge. His NCO is Sgt Kitagawa Kuzukiko, aged 26 and short but full of fight, a proper bantam. Called by the Emperor he doesn't want to dishonour the ancestors.
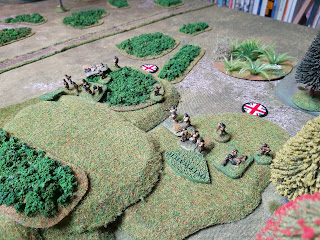
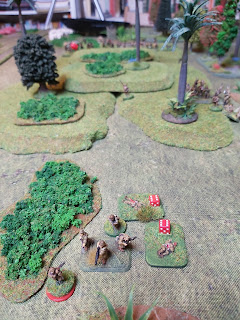
The Japanese had the initiative and were only able to deploy a single section on the table in their first phase. The Australians had better luck and deployed three sections, two of which got into position on the defile and covered the road and jungle with overwatch.
Meanwhile, the Japanese 2IC arrived to get the sections moving forward.
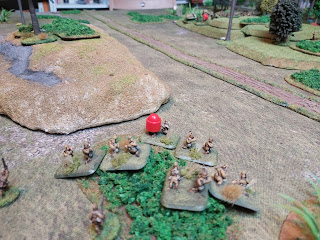
On the other side of the road, the Japanese mortar section arrived, took up positions and laid down fire on the Australian positions. However, they took fire themselves from the infantry.
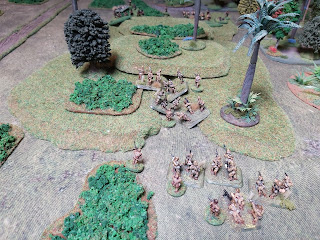
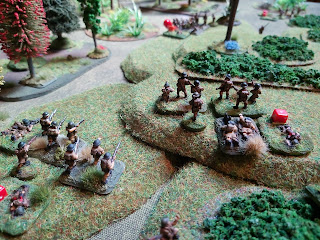
In an attempt to dislodge the Australians a Japanese section moved to attack, but were hit hard by the defender's fire!
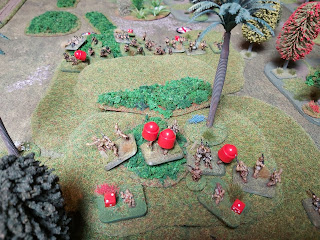
More fire from the Australians cause the attacking section to break and flee!
Seizing the initiative the Australians move forward to fire down on the second Japanese section.
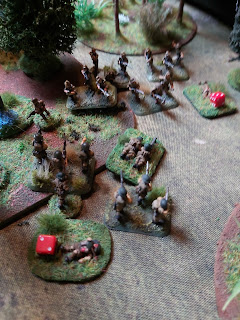
Meanwhile, on the other flank, the third Japanese section assaults an Australian section.
But a well placed defence by the Australians sees off the attack easily!
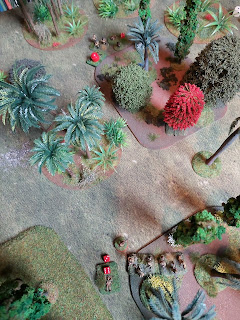
And on the Japanese right flank another section breaks and retreats, impacting on their morale.
The game was over as Japanese morale collapsed in the face of a stiff defence by the Australians.
Given the dismal state of the attack Lt Teiji is demoted. The Australians held the field and drove off the Japanese attack. Australian casualties amounted to ten men, about a quarter of their strength and some of these will be able to return in the next scenario, with more coming back in the third scenario. The Japanese on the other hand took a real beating with almost thirty men men killed, two of their junior leaders being killed and their Sgt Kazukiko 2IC also taking a wound. When the Japanese lose a scenario, they replace the platoon with a fresh one, so the Australians will not be getting off lightly in the future...
This was an excellent scenario to play and I am looking forward to the next one, stay tuned as I play this campaign in the future.

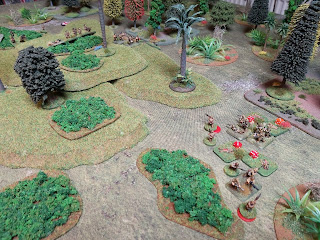
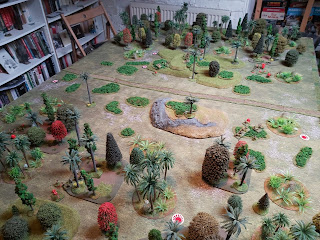
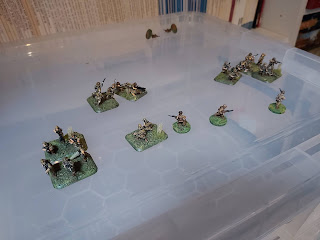

Great report- love your patches of low scrub.
ReplyDeleteDo you think CoC is best in a campaign such as this?
Cheers,
Pete.
Cheers Pete. The low scrub is actually forests for my 6mm Blucher stuff! It's the right scale for the 2mm buildings I use, but it also works well for other things like this.
DeleteAs for CoC on campaign, hard to say as I have only played the one game in this series so far. However, what I do like is that you name the Senior Leaders and there are tables for rolling up their ages and backgrounds, which adds a bit of flesh to the tiny men. Also, the campaigning rules are about replacing men that are killed in the game, so last man stands are less of a thing and you automatically begin thinking about withdrawing to preserve your strength for the next stand.